![Untitled design (2)-3.png]](https://support.helloalleva.com/hs-fs/hubfs/Untitled%20design%20(2)-3.png?height=50&name=Untitled%20design%20(2)-3.png)
For help on creating a Template, see the following article: Add Templates for Email/SMS/Notes
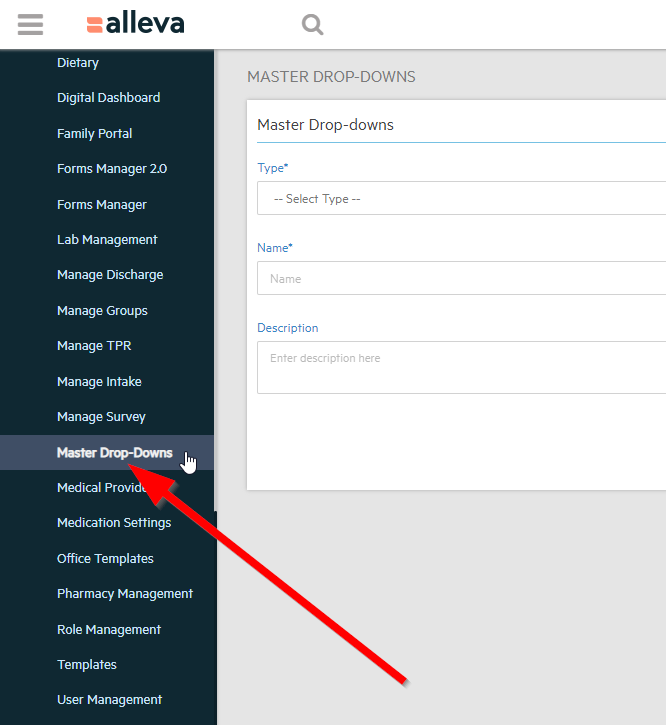
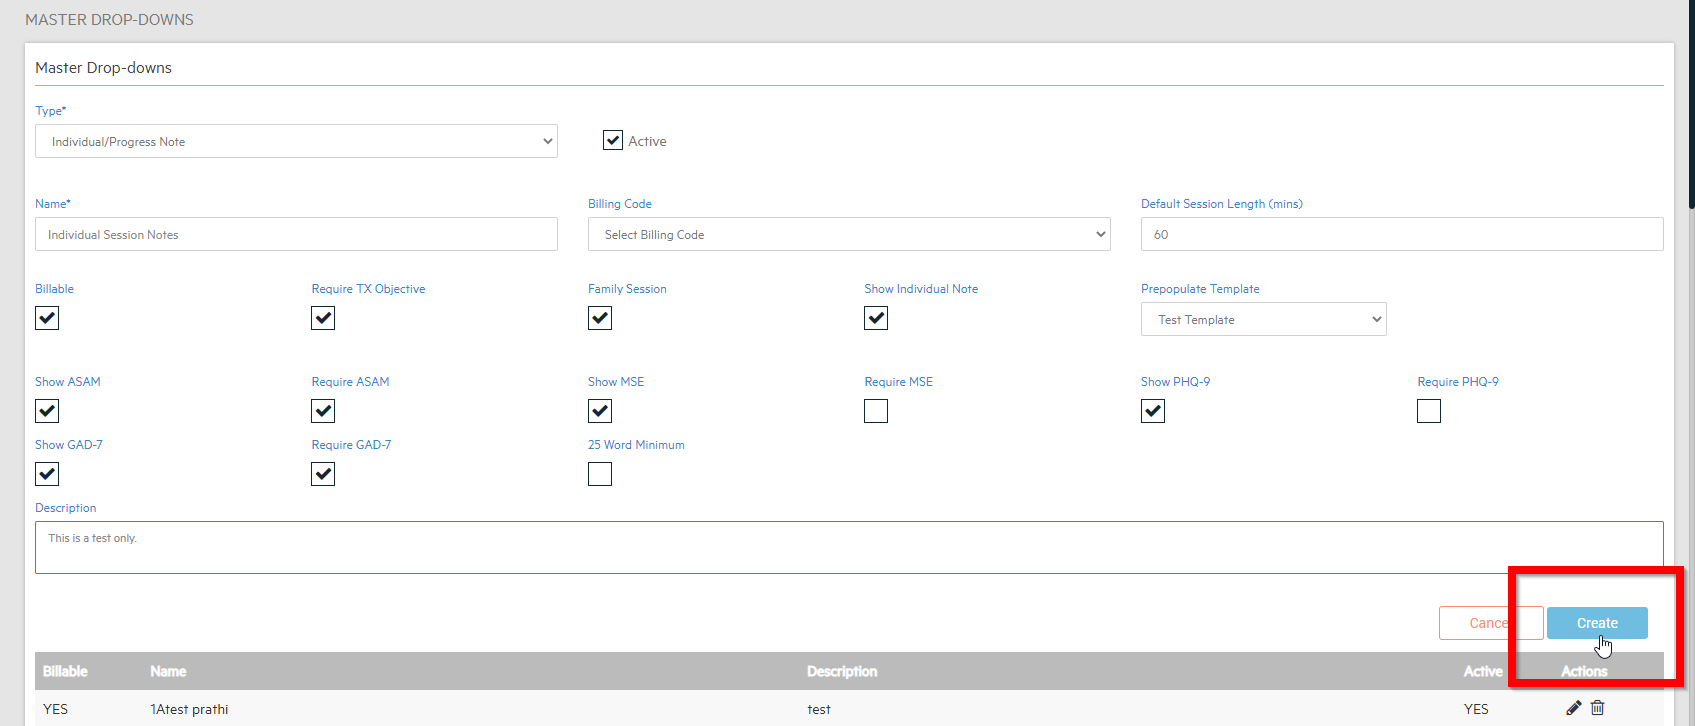
1. Navigate to Settings > Master Drop-Downs.
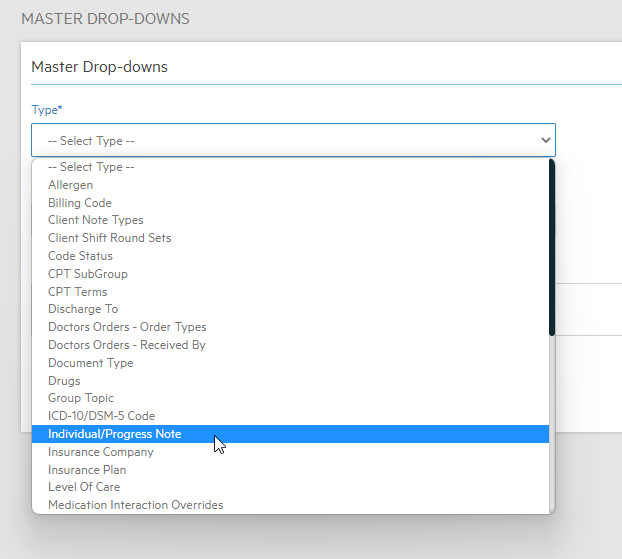
2. Select "Individual/Progress Note" from the drop-down menu.
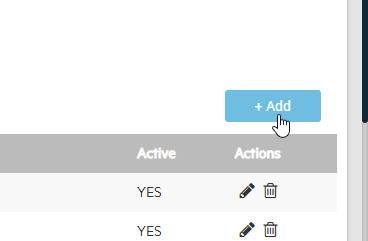
3. Select "+Add" from the right hand side of the page. Boxes and texts fields will appear which will allow you to customize a Note as you see fit. Fill out the required fields, as well as any desired information you'd like to include.
To Add a created Template, select the desired template from the "Prepopulate Template" drop-down menu.
Editing an existing Template can be done by selecting the 'pencil edit' button found in the actions column as shown below.
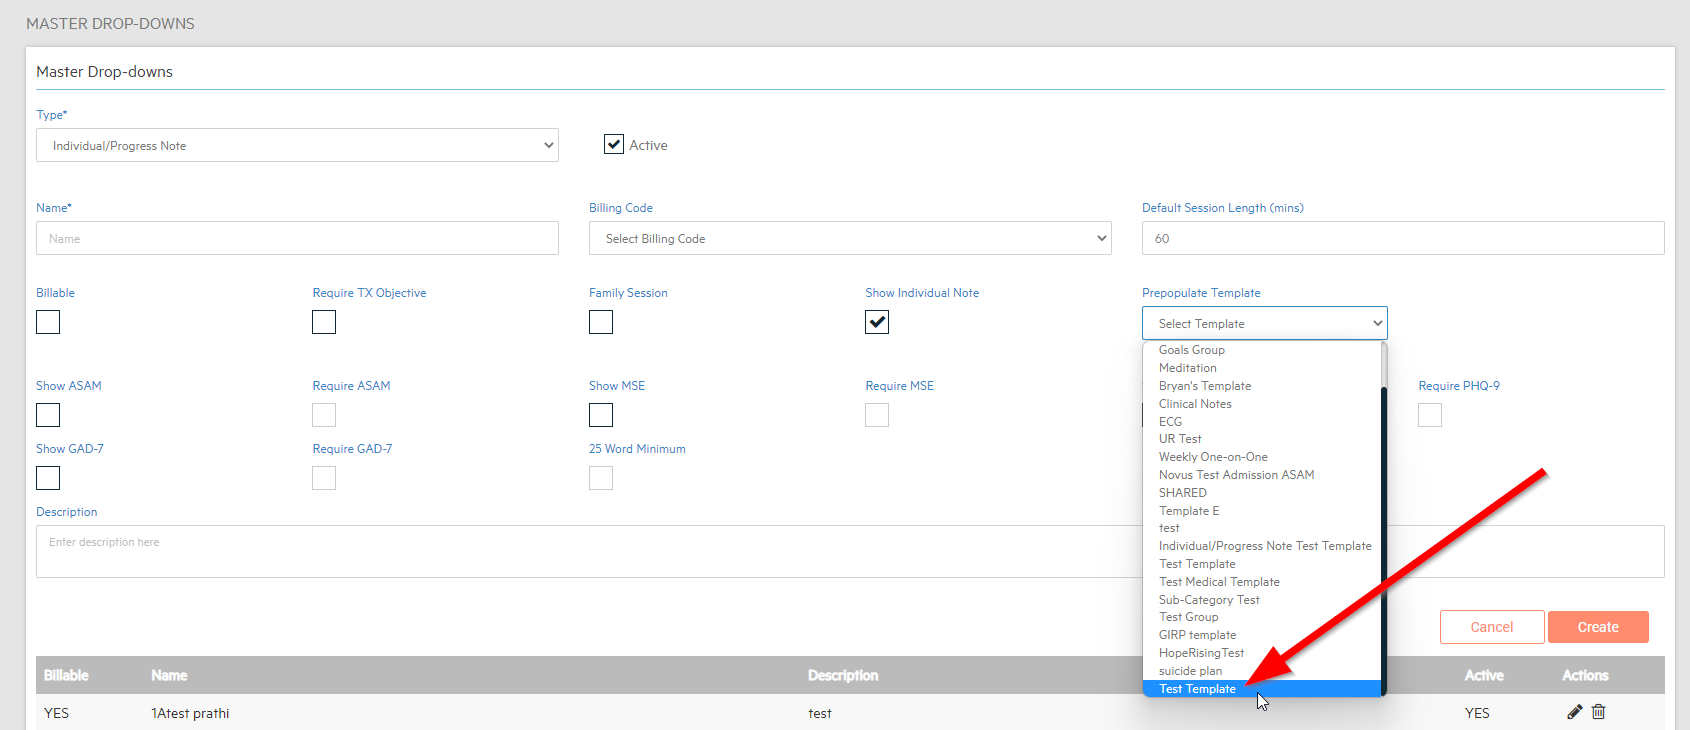
4. Once you've finished adding your template and any additional information, select "Create" at the bottom right of the creation menu.
You can find your new form listed below in alphabetical order.

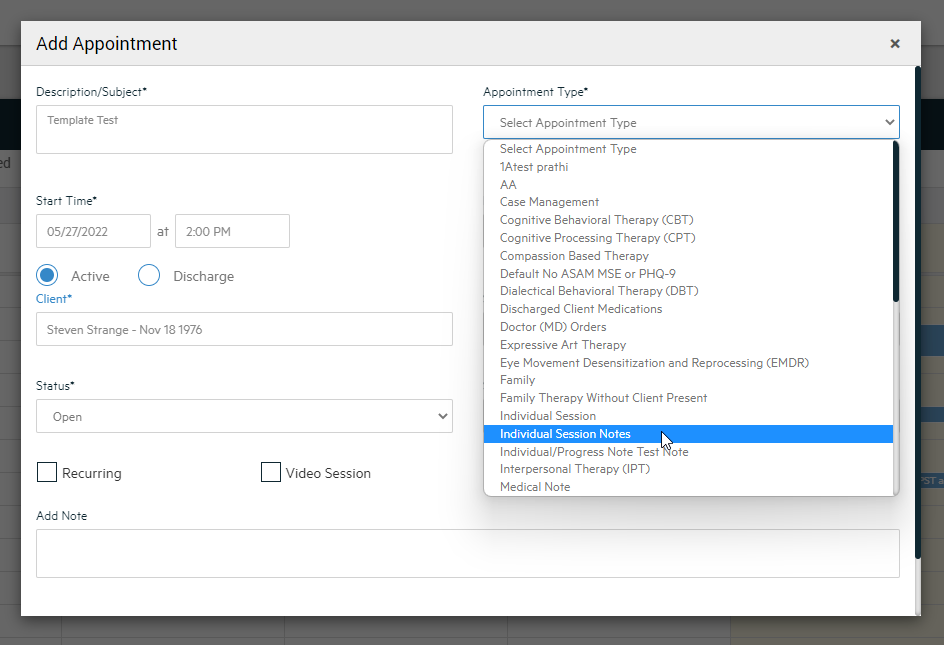
5. Upon creating an appointment, select your created template from the "Appointment Type*" drop-down menu.
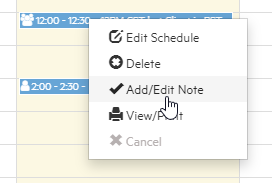
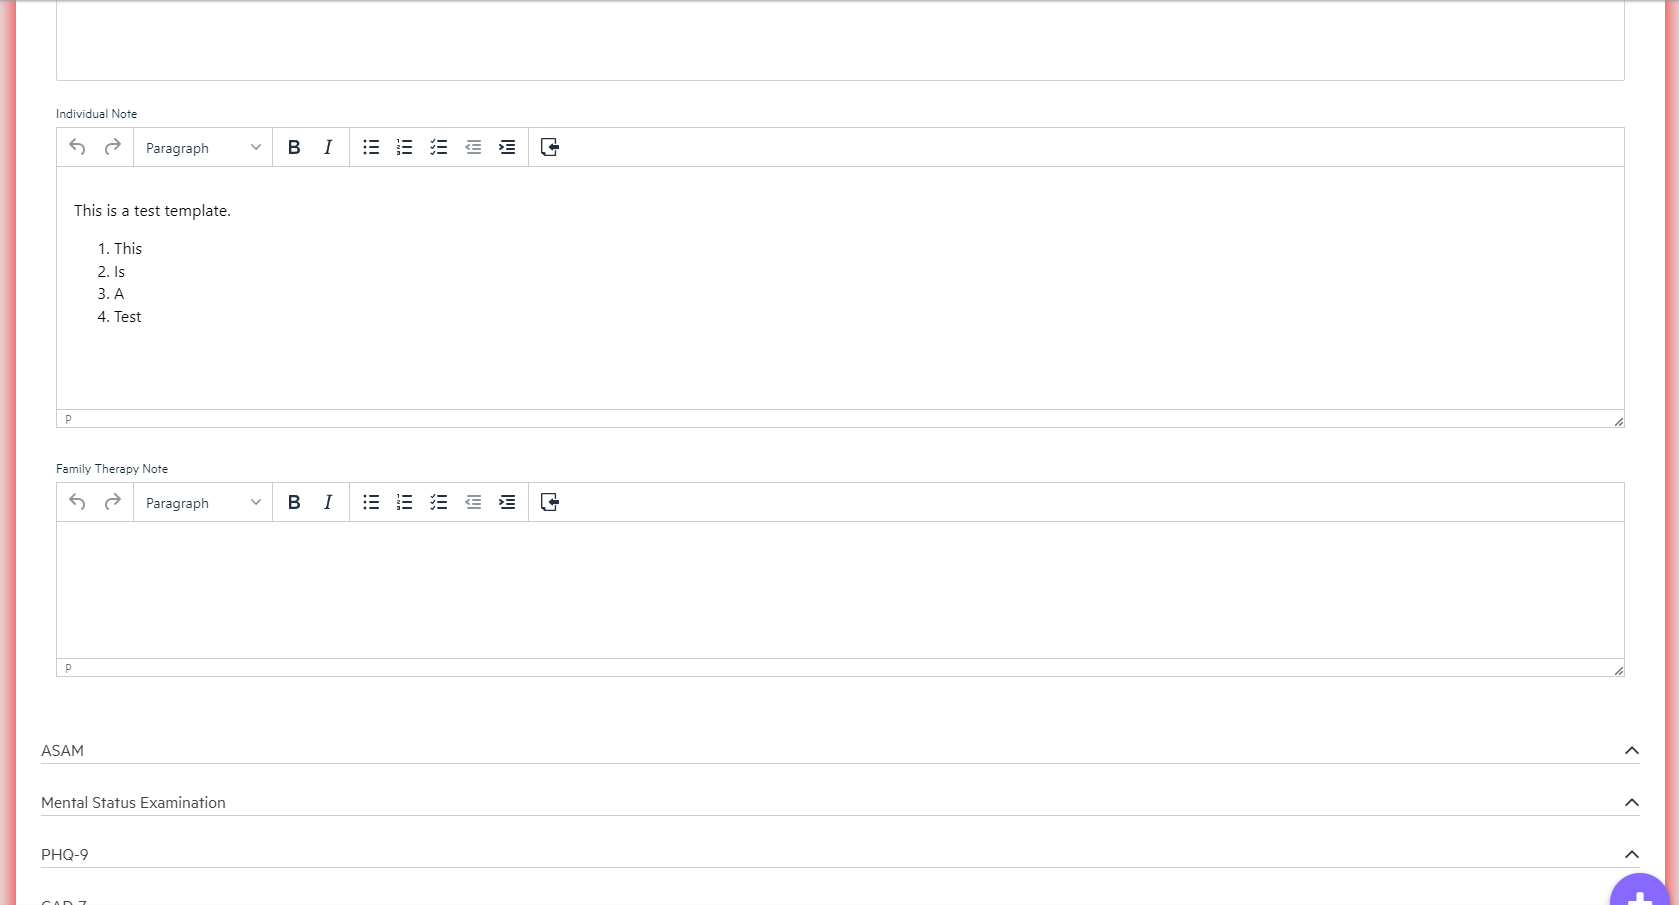
6. Now, when "Add/Edit Note" is selected, you'll find your new template has populated in the Session!
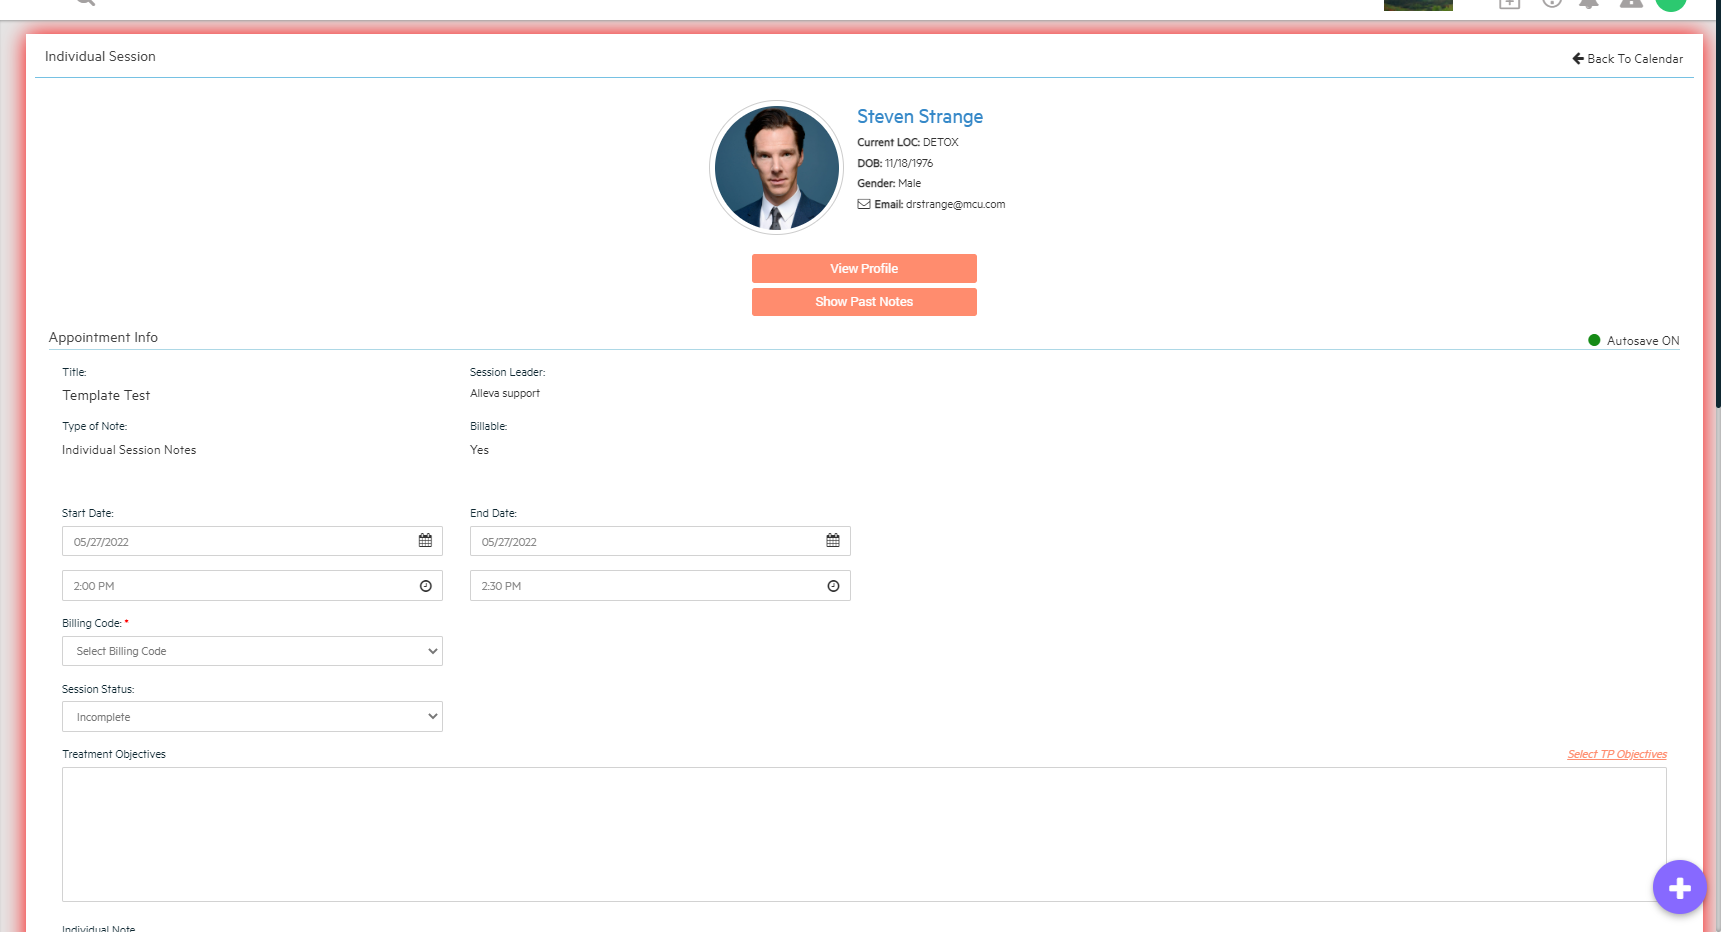
All Done!
