![Untitled design (2)-3.png]](https://support.helloalleva.com/hs-fs/hubfs/Untitled%20design%20(2)-3.png?height=50&name=Untitled%20design%20(2)-3.png)
This article will show you how to update your company information as well as how to update specific settings within the company.
1. Starting in "Settings" go to the subsection "Company Information".
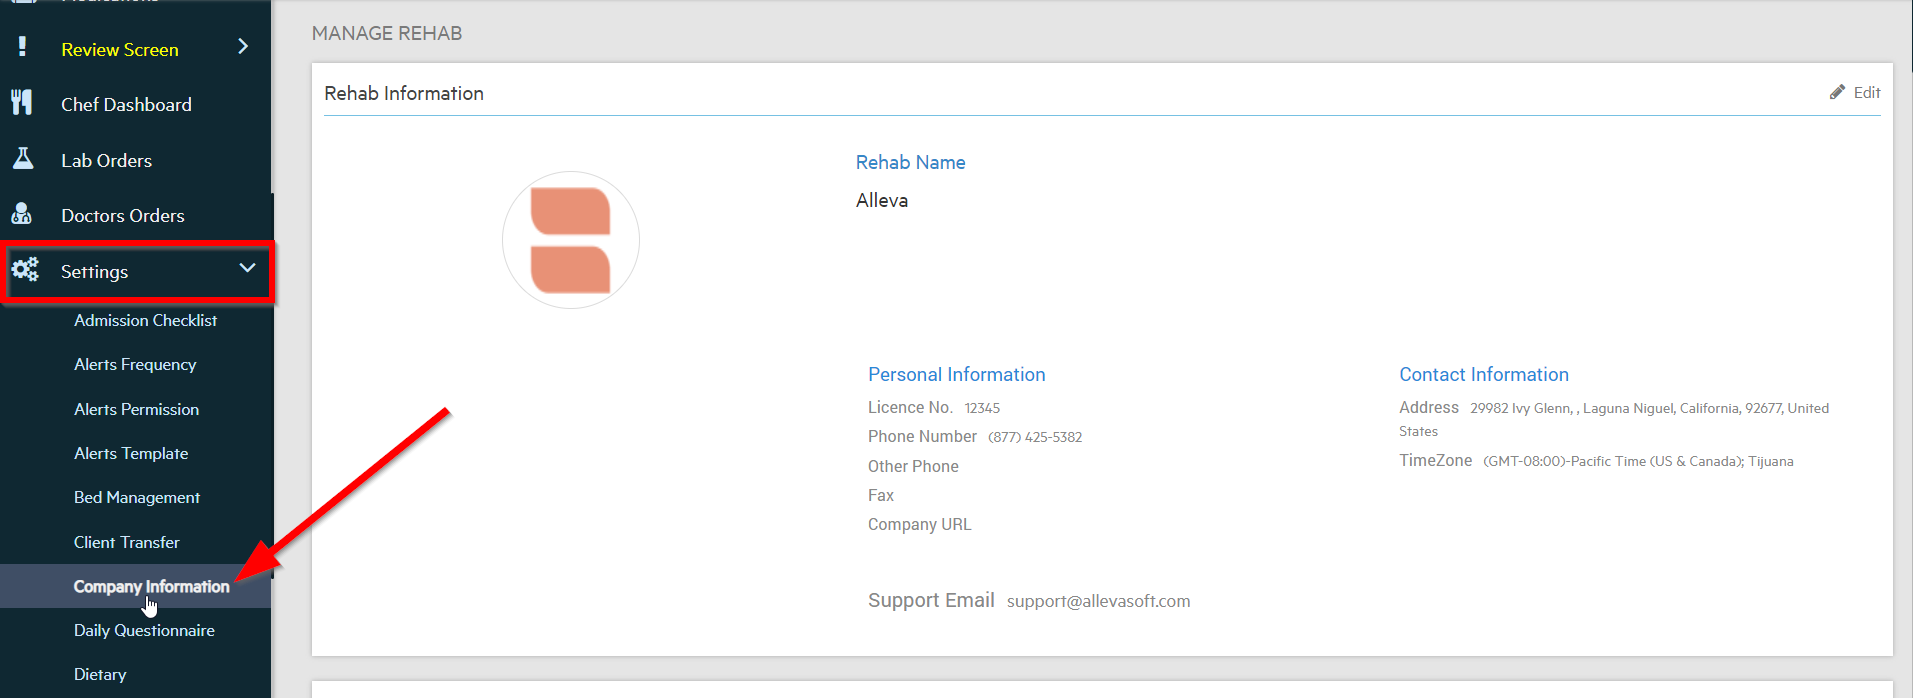
2. The first section is entitled, "Rehab Information". This is where you keep your facility's 'personal information' and 'contact information'. To edit, add or delete any information select the "Edit" icon in the upper right-hand corner of the section.
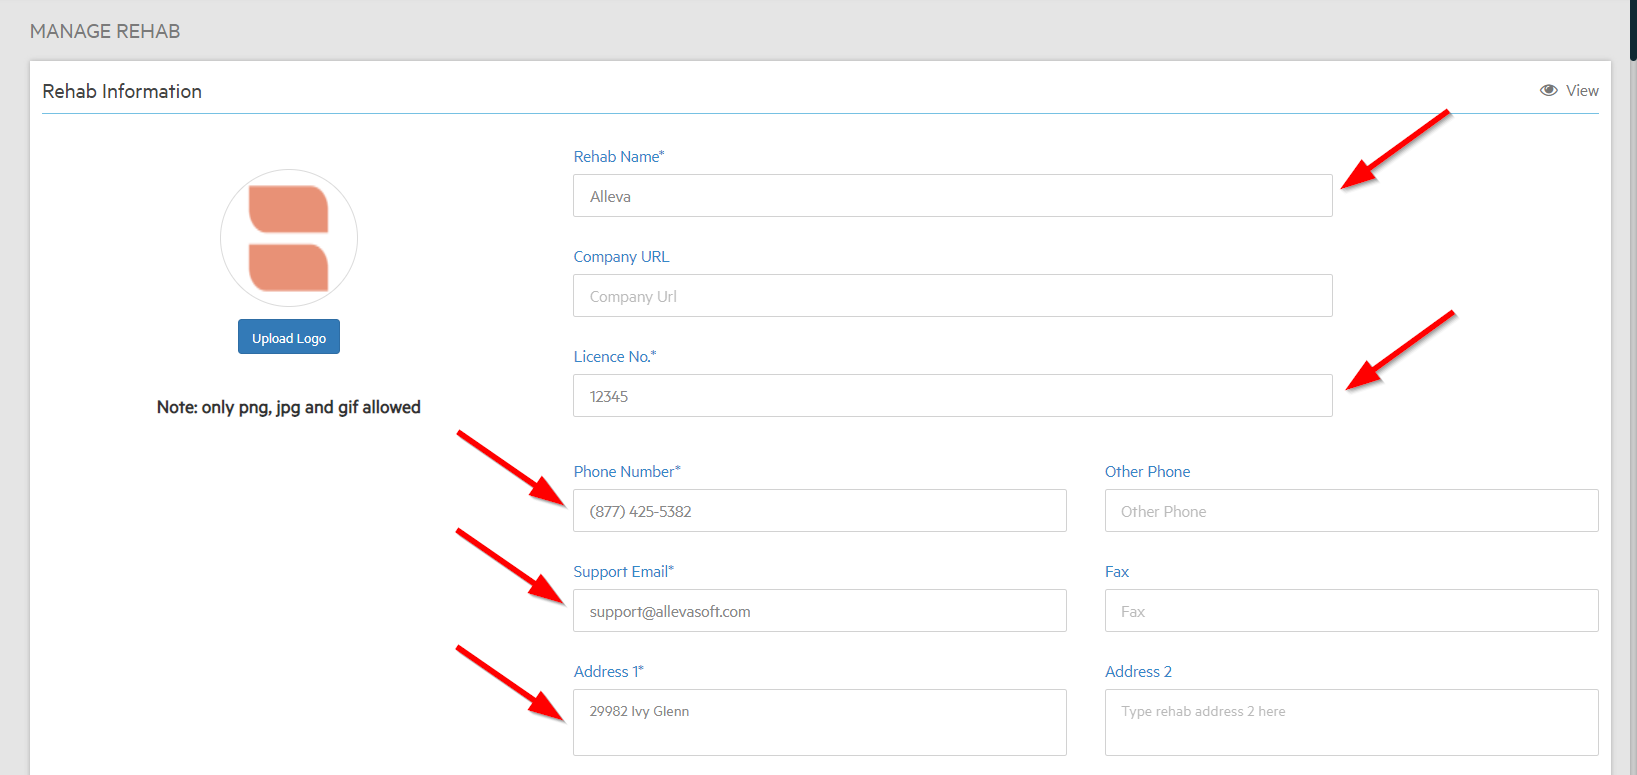
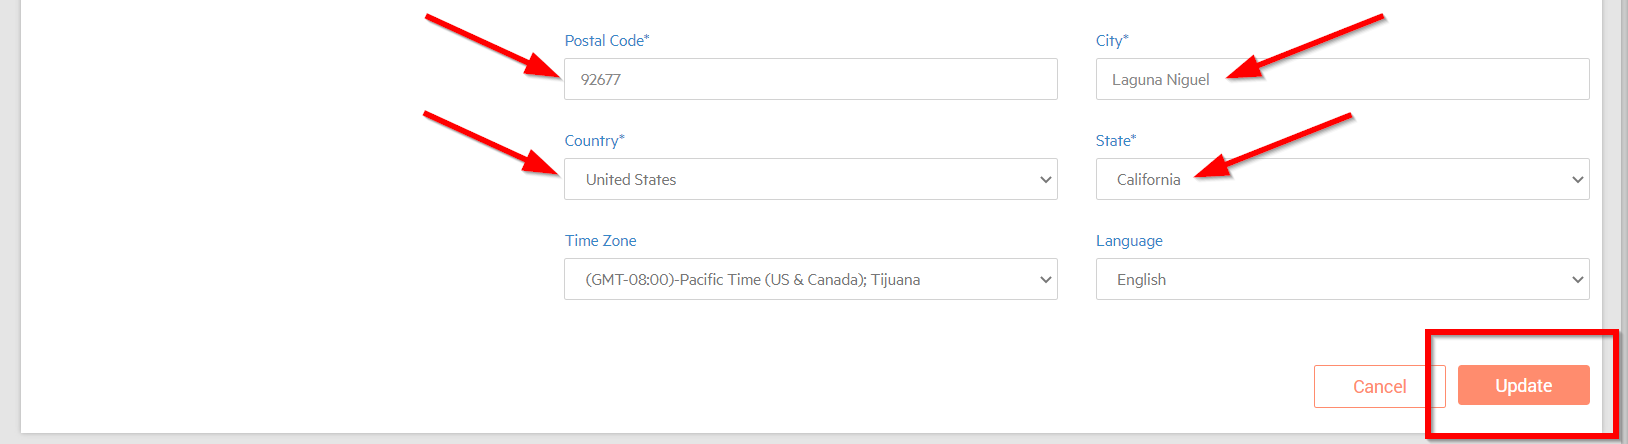
Complete all of the required information (the required fields will have a * next to the names) and select "Update" when complete.
*** the TIME ZONE is a very important field that also needs to be completed. Anything that has a time stamp in the system will refer to this time zone. Be sure your facility's account is in the correct time zones or else the timestamps will be off.
3. The next section is entitled, "Rehab Facilities". This section is important if you have multiple facilities. You can add each facility in this section with their personal and contact information.
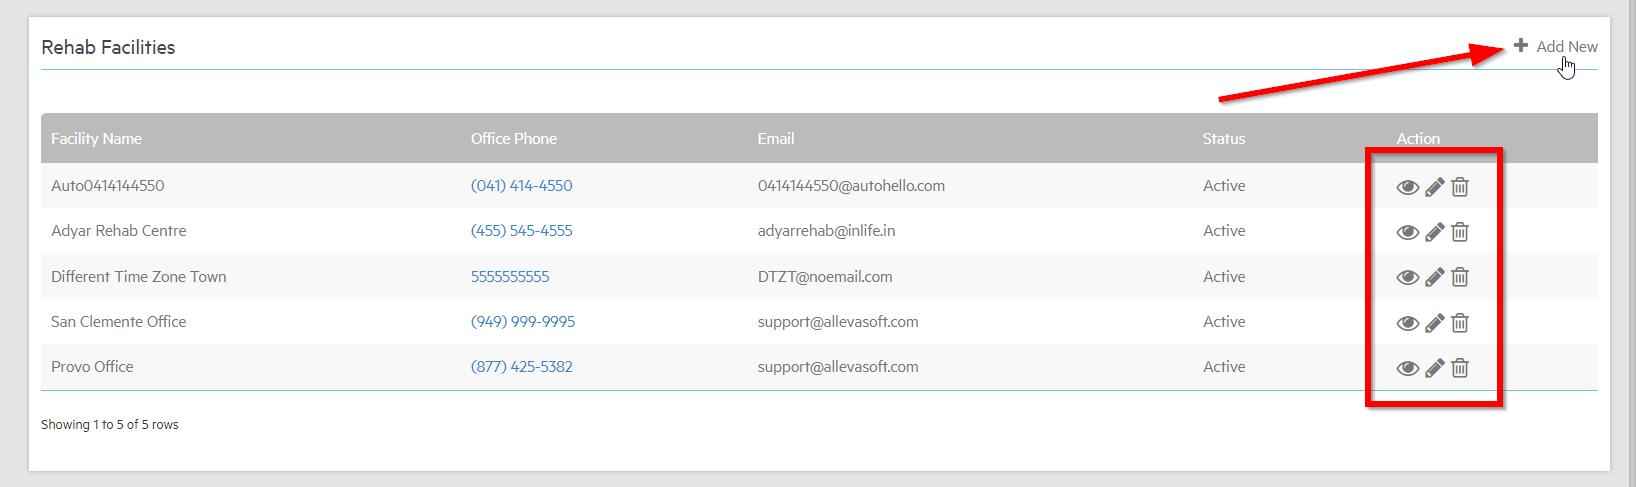
To edit the facility's info select the pencil icon under the "Action" column. Edit, change or delete any information. Select "update" when you are finished.
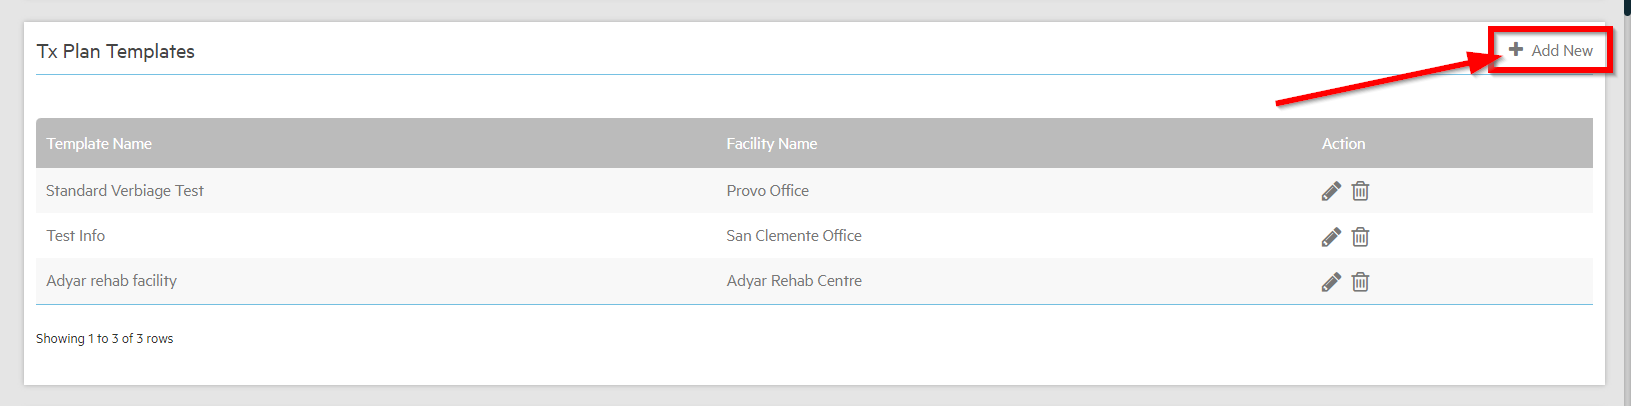
4. The next section is entitled, "Tx Plan Templates", and allows you to create and edit plans as needed. To add a new plan, select "+Add New" in the upper right corner of the box.
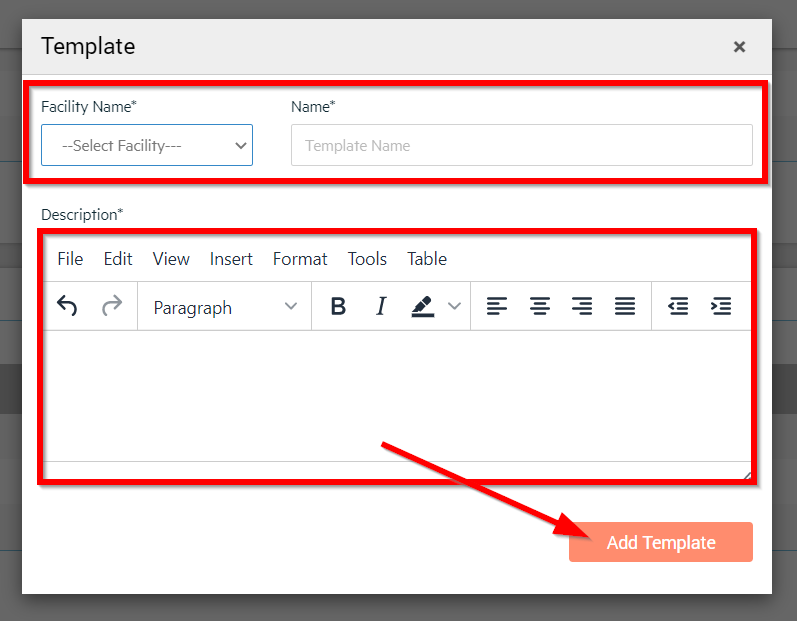
A window will appear which will allow you to customize a new Template Plan. Select the desired Facility from the Drop-Down menu, name your template, and fill out the description. When you have finished your form make sure to select "Add Template" at the bottom right.
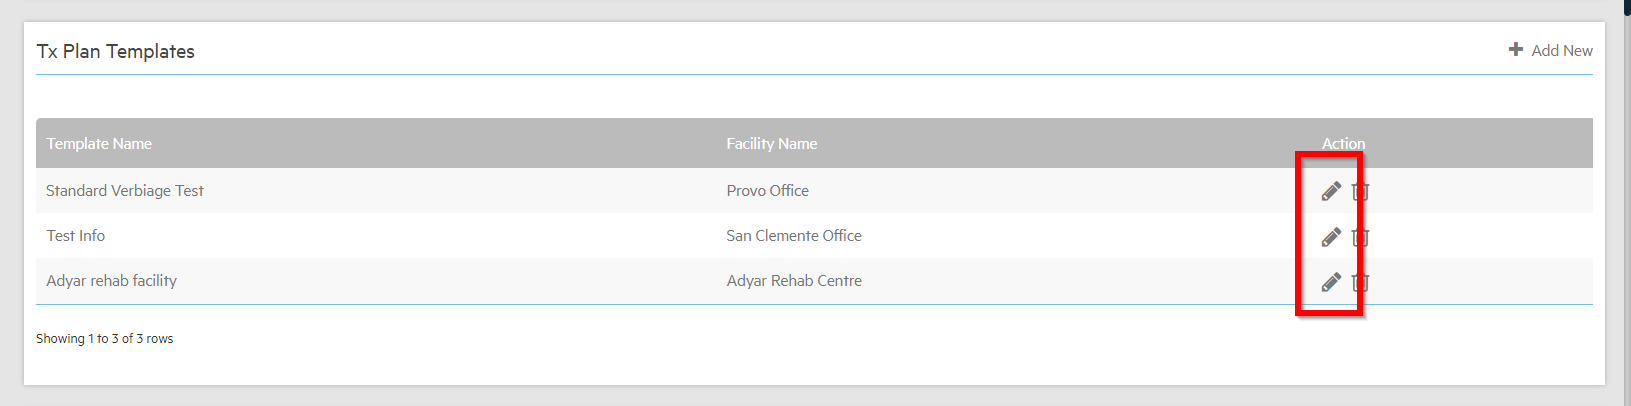
To edit a current plan, select the 'pencil edit' button under the Actions on the right hand side.
The same window as above will appear which will allow you to edit a chosen plan. Follow the same directions as above to finish editing.
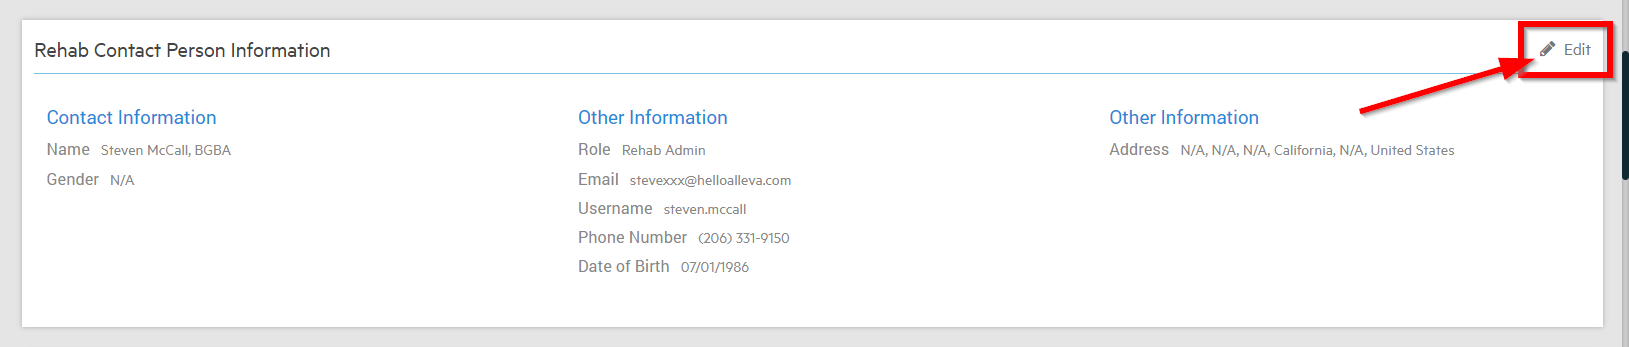
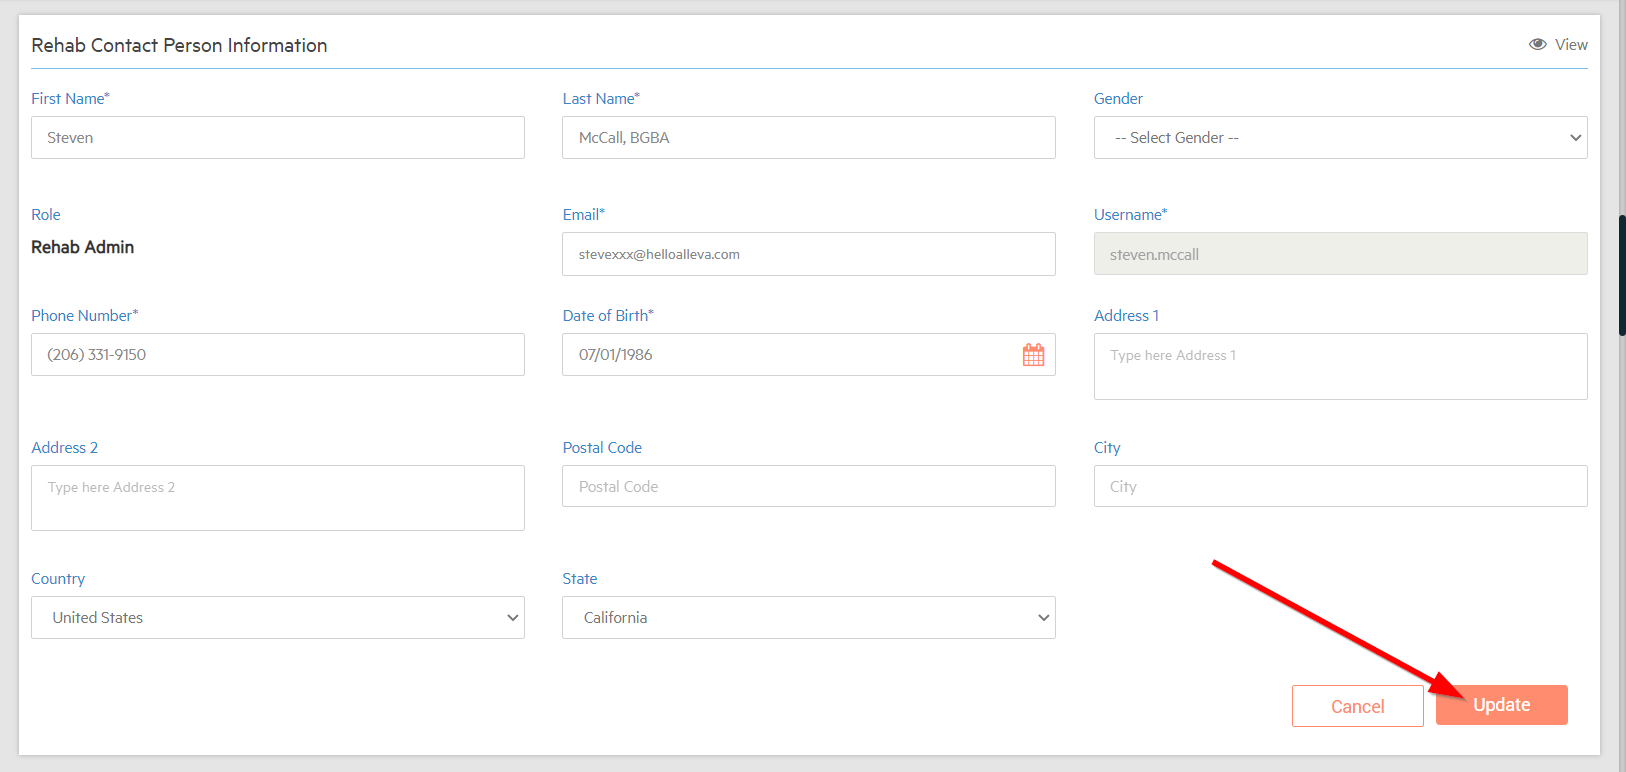
5. The next section is entitled, "Rehab Contact Person Information", and contains the information about your facility's main contact. To add, edit or delete any of this information select the "edit" icon in the upper right-hand corner.
Add, edit or delete any of the information in the text boxes by selecting the field and typing in the correct information. Select "update" when you are finished.
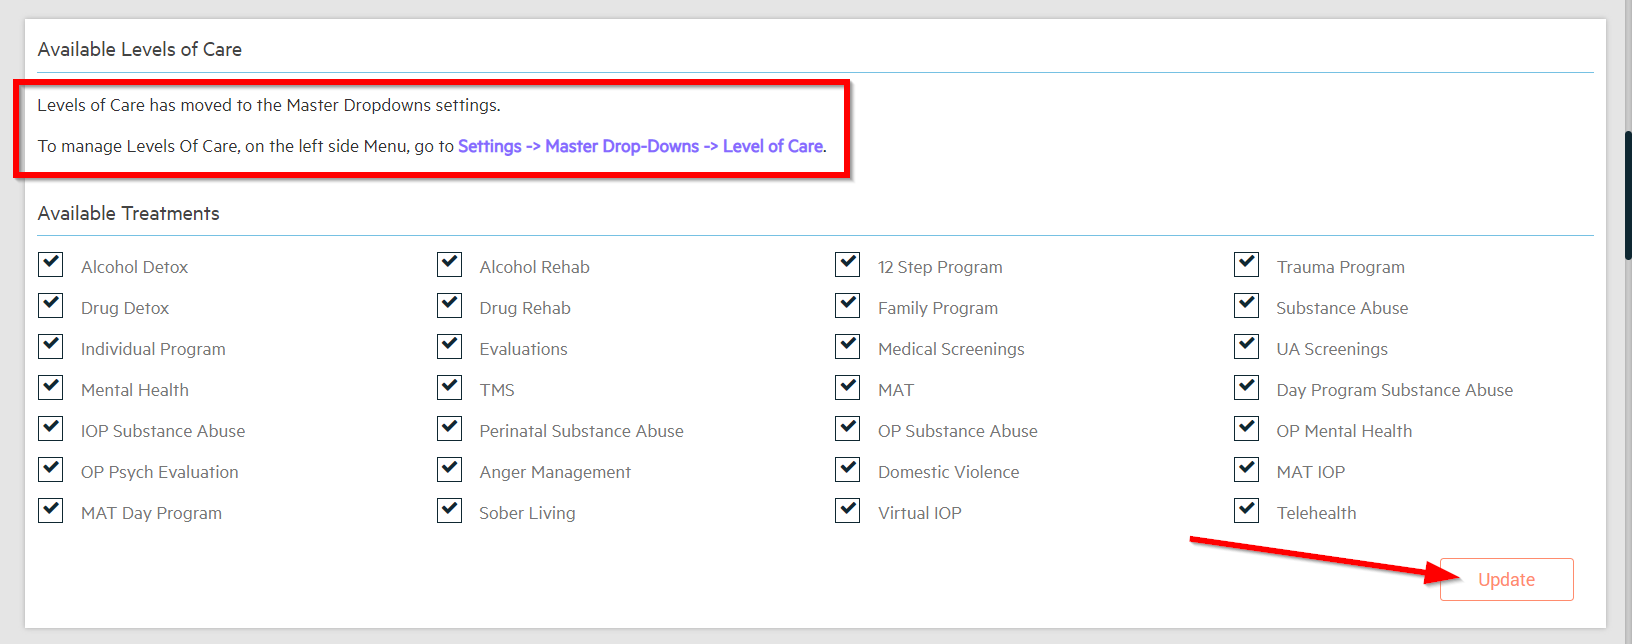
6. The next section allows you to choose your facility's treatments. Do this by checking the boxes next to each "Available Treatments" listed below.
Choosing your facility's "Level of Care" has been moved to the location listed below.
This link to the Master Drop-Downs article to help you change the Levels of Care as needed.
7. The next section is entitled, "Shift Rounds" where you can set the time for rounds according to each facility.
First, select the facility in the drop-down menu.
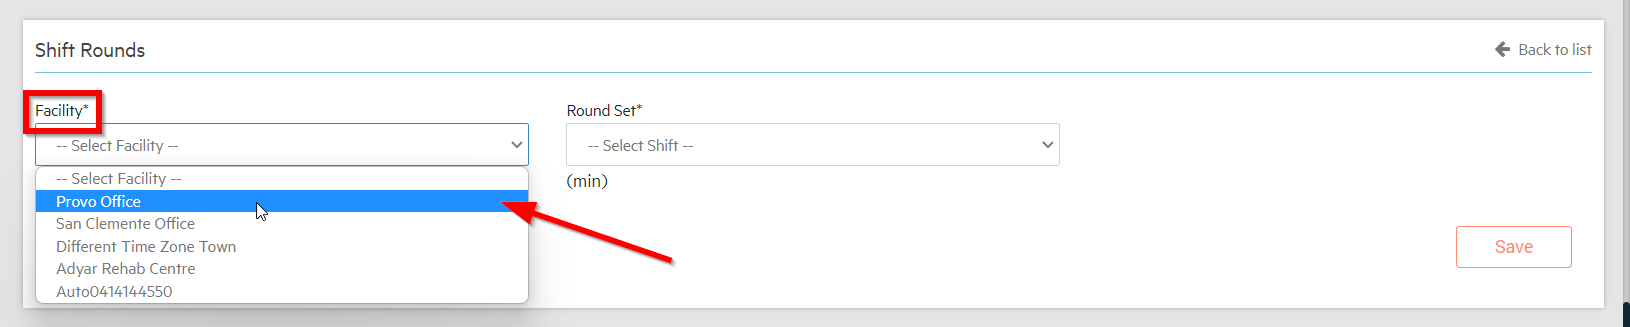
Next, select the time of each round by selecting the time in the "Round Set" drop-down menu.

Finally, select "Save" when you are finished.

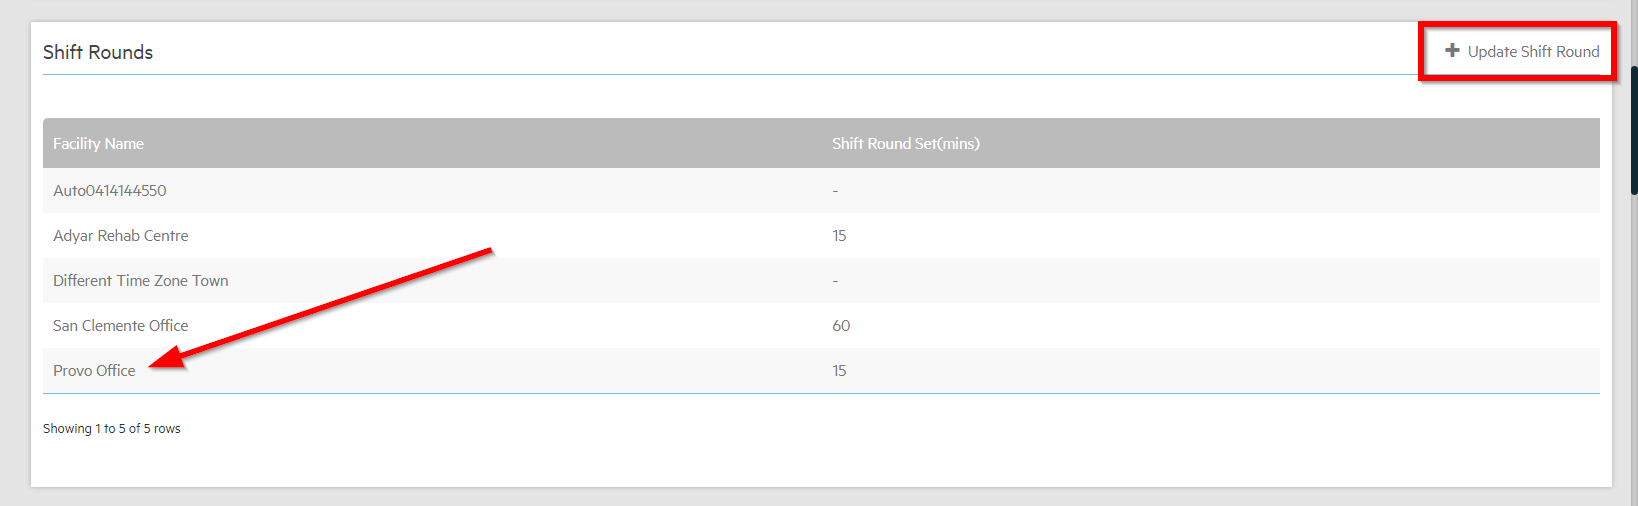
The information will be added to the queue. If you would like to update, change or add a new shift round select, "+ Update Shift Round" and follow the same instructions.
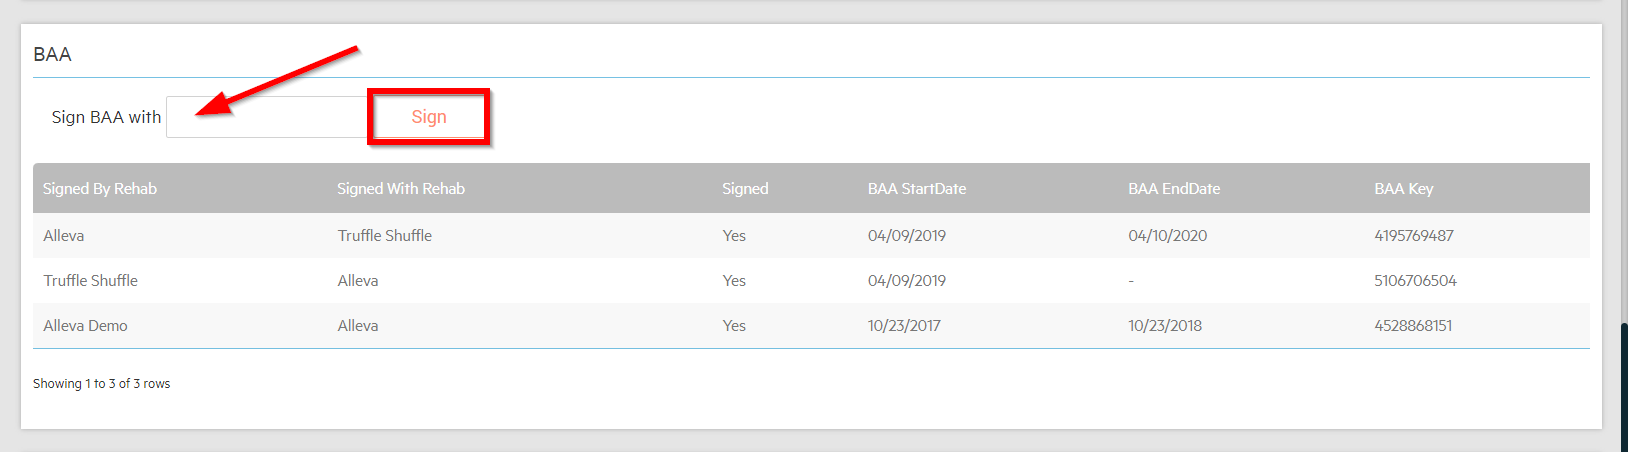
8. You can also sign your BAA in this section of the software. To do so, type in the name of your facility and select "Sign". Fill in all other known informaiton and select "save" when you are finished.
9. In the next section you can save and store documents. You can search for these documents by typing in the name of the document.
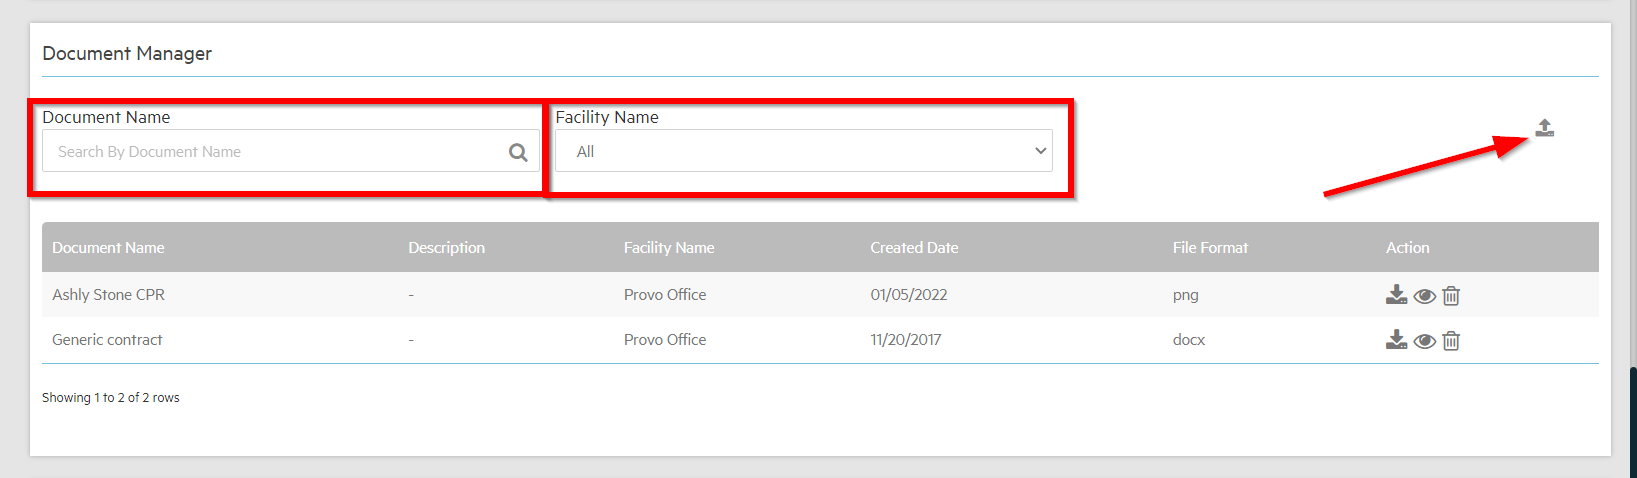
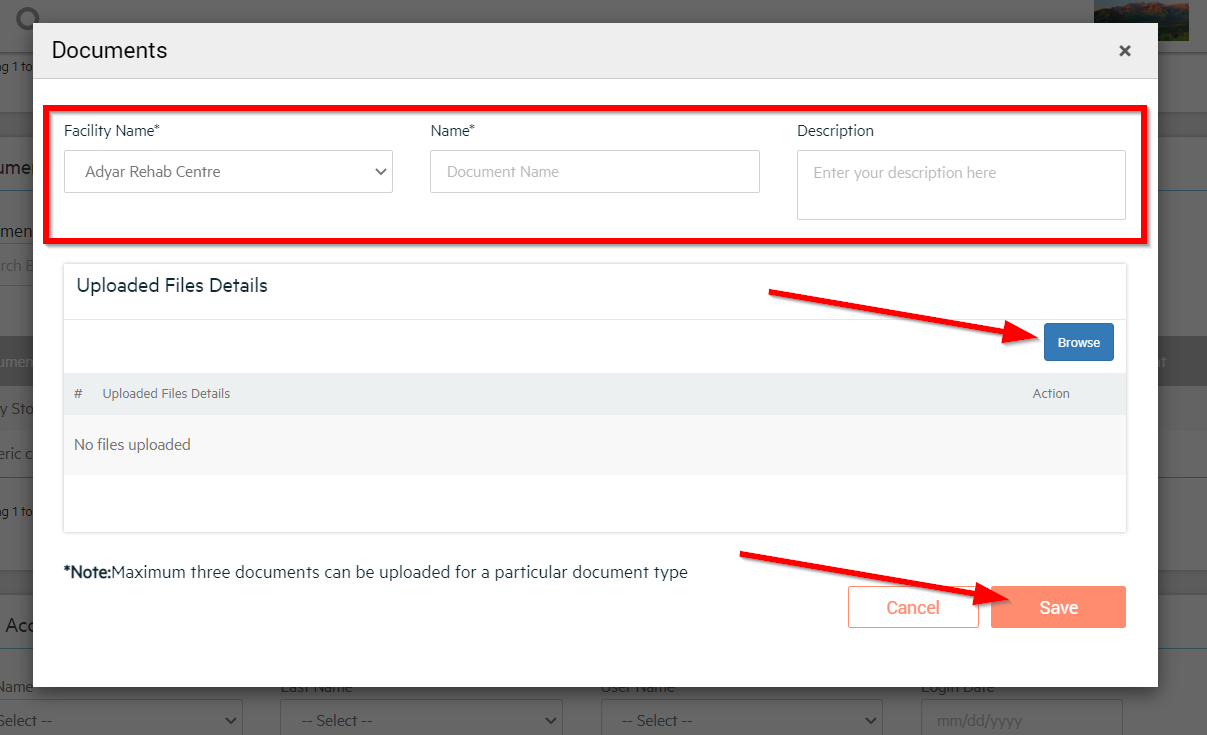
You can also upload documents here as well. To do this select the upload document icon in the upper right-hand corner. This screen will populate allowing you to select the 'Facility Name', 'Name' of the document and 'Description'. To upload the specific document select "Browse". Once you have selected the document click "Save" when you are finished.
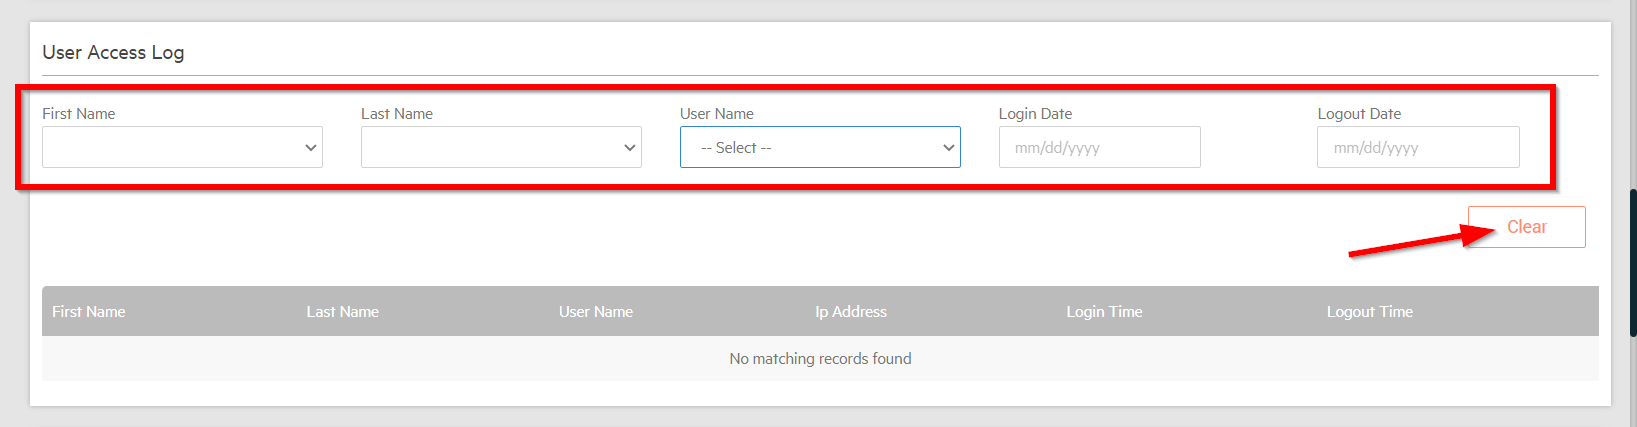
10. The next section is entitled, "User Access Log", and allows you to search for specific users. You can filter the results through any of the desired options. To clear the fields, simply select the "Clear" button.
11. The next section is entitled, "Reset Password Duration", which is an account safety feature. You can select the "Never" box which will never require a reset, or you can input the amount of days in which you'd like to require a password reset for the users. Select "Update" when you've finished.

12. The next section allows you to "Sync Avea Services".

13. The "Google Classrooms Integration" is a work in progress. Thank you for your patience.
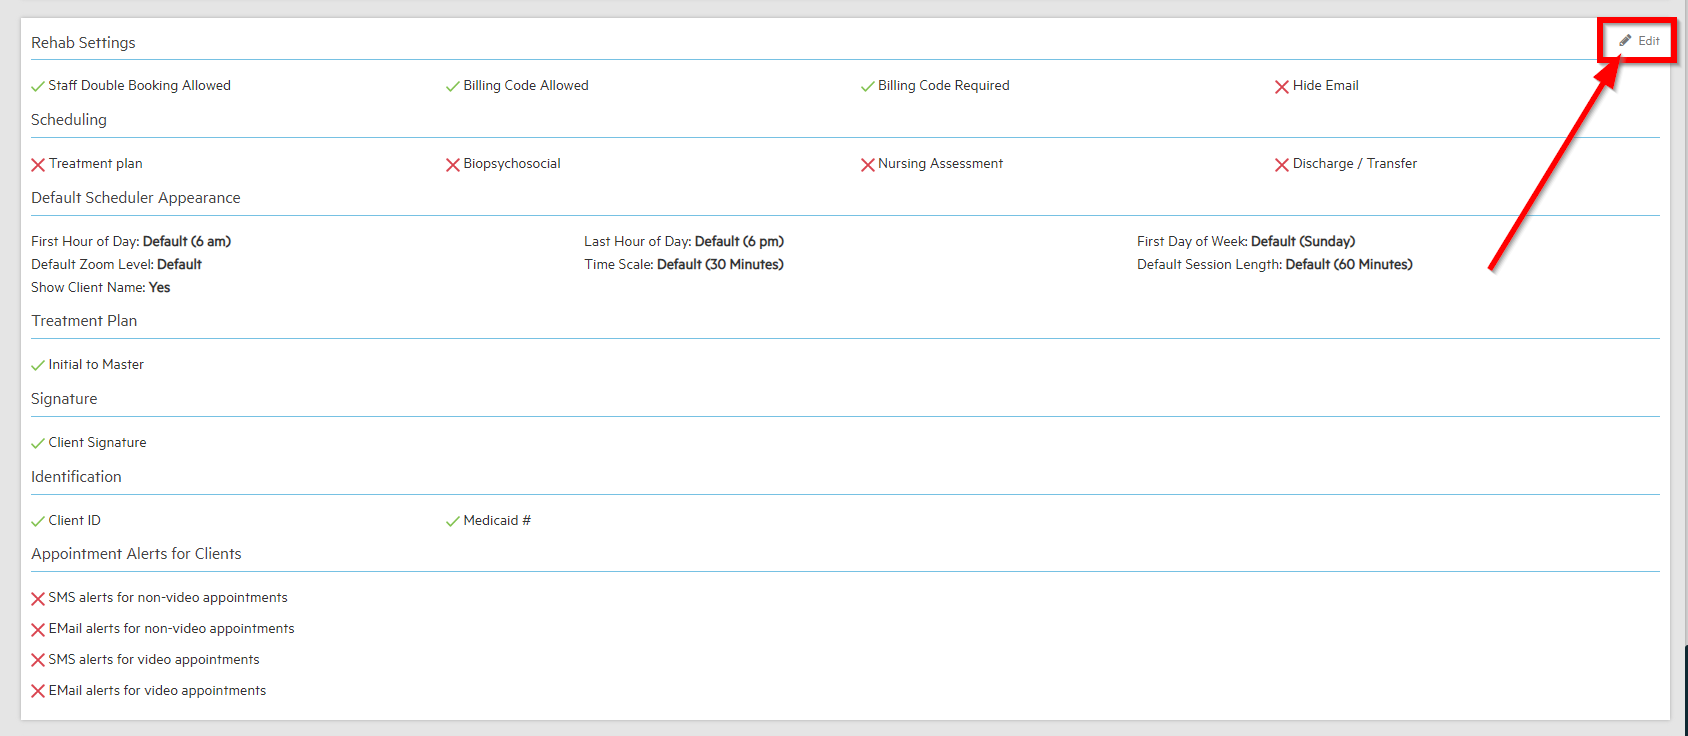
14. The next section is entitled, "Rehab Settings". To change any settings, select the 'pencil edit' button in the top right hand corner and update the desired options.
15. The final section is entitled, "Parent/Guardian Signature", which allows your to choose which facilities you'd like to show signatures or not. To update the facilities preferences, select "+ Update Signature" at the top right hand corner.
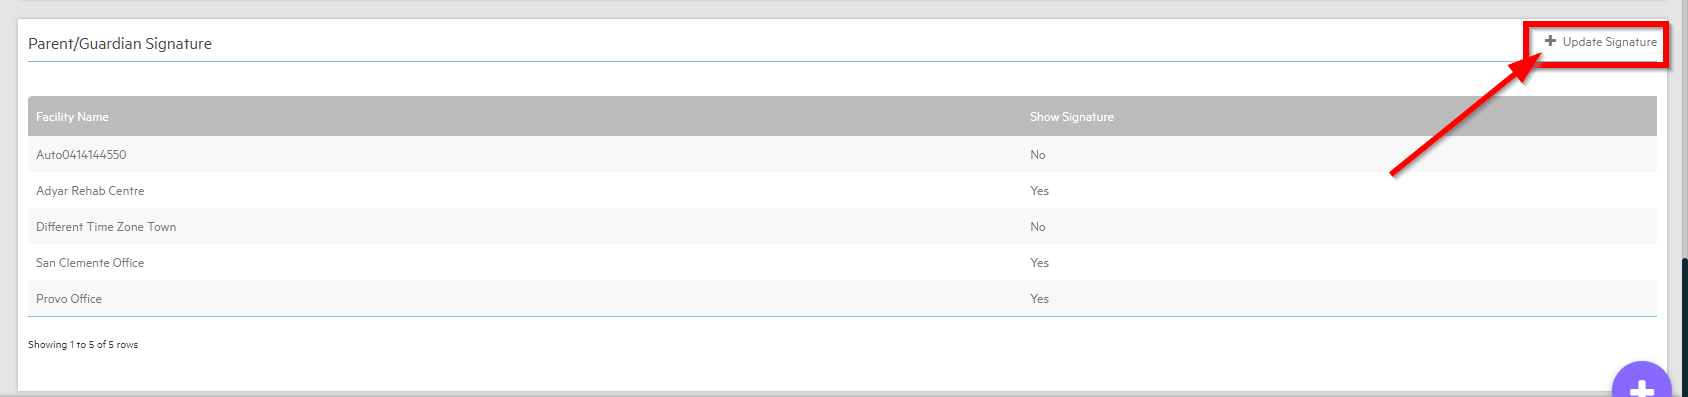
Choose which Facility you'd like to update from the drop down menu, check the box according to your desired setting, and select the "Save" button.

