![Untitled design (2)-3.png]](https://support.helloalleva.com/hs-fs/hubfs/Untitled%20design%20(2)-3.png?height=50&name=Untitled%20design%20(2)-3.png)
1. Starting on the main dashboard, select 'Calendar' on the left navigation menu.

2. Then select "Scheduler".

3. The Scheduler will open and you will be able to see all scheduled sessions and schedule any new sessions. Find the day and time for the session, and click in the empty slot.

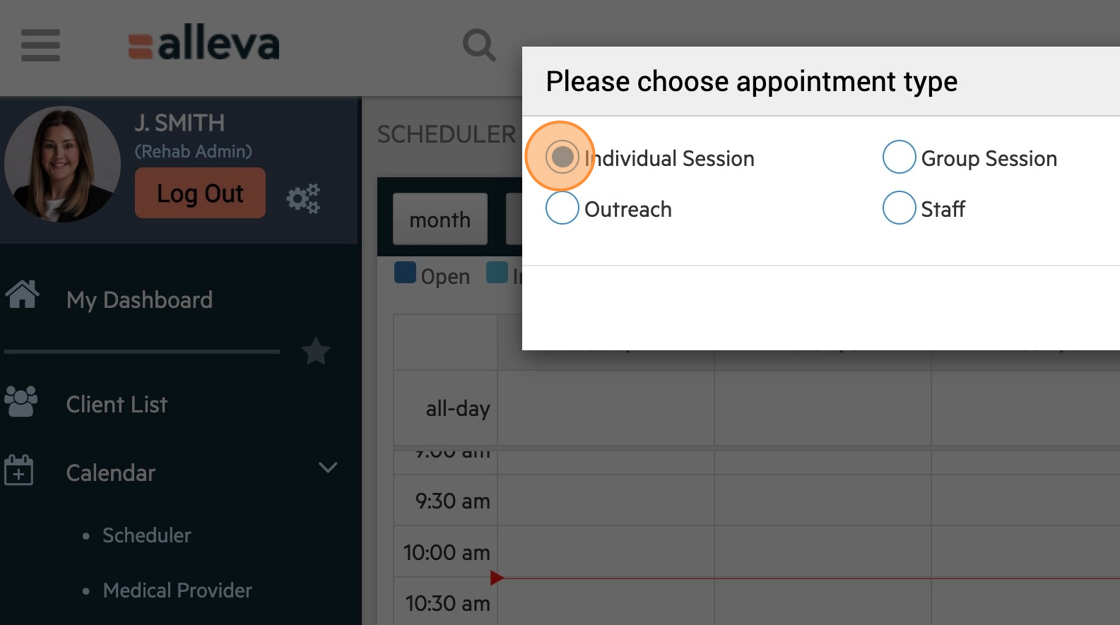
4. At this point, you will be asked to choose the type of appointment you wish to schedule. Select "Individual Session" and then click "Ok" to proceed.
5. After that, the "Add Appointment" pop-up will appear. Complete all the required fields with the relevant information. If this appointment is intended to be recurring, check the "Recurring" box and provide the necessary details. For video sessions, make sure to select the "Video Session" option.

6. When all required fields are filled out, click "Save".

7. A green "Success" alert will appear on the upper right corner of the screen if the appointment has been added to the calendar successfully.

8. The appointment(s) can now be viewed on the calendar.

TIP: On the day of the session, the individual session note will be displayed in the "My Tasks" list on the dashboard of the clinician or staff member assigned to the session.
🎉🎉 All done!