![Untitled design (2)-3.png]](https://support.helloalleva.com/hs-fs/hubfs/Untitled%20design%20(2)-3.png?height=50&name=Untitled%20design%20(2)-3.png)
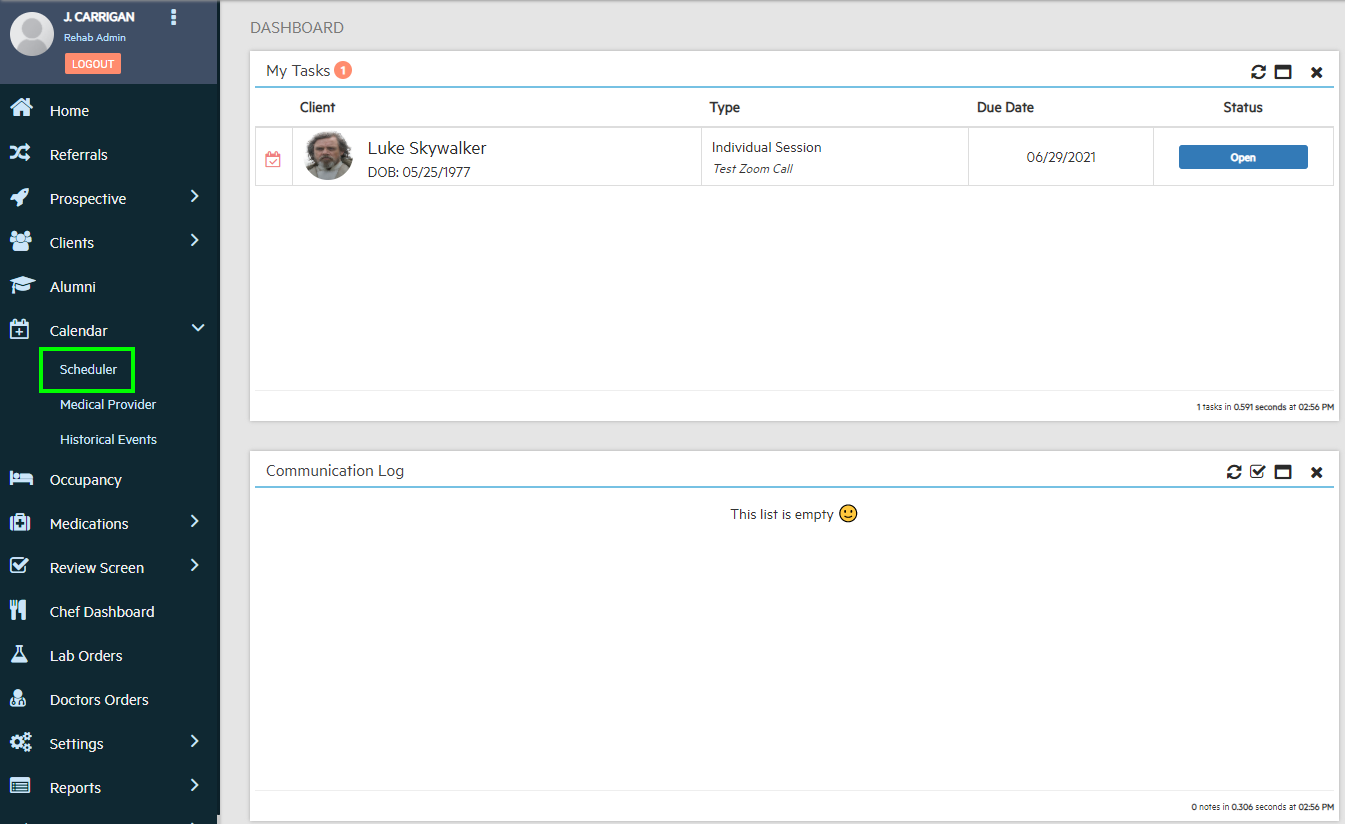
1. Go to the Scheduler.
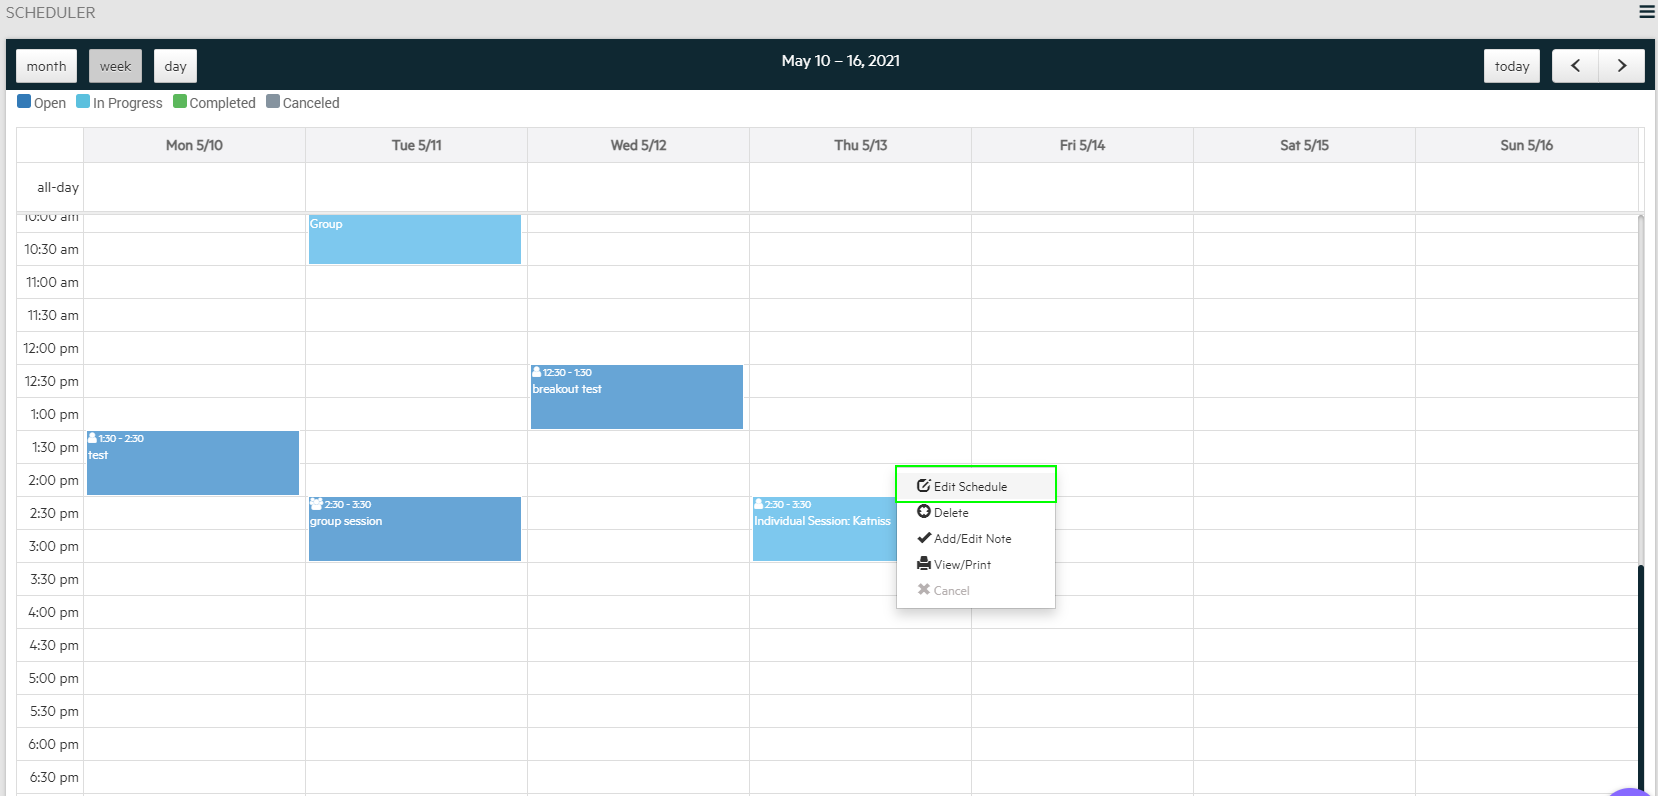
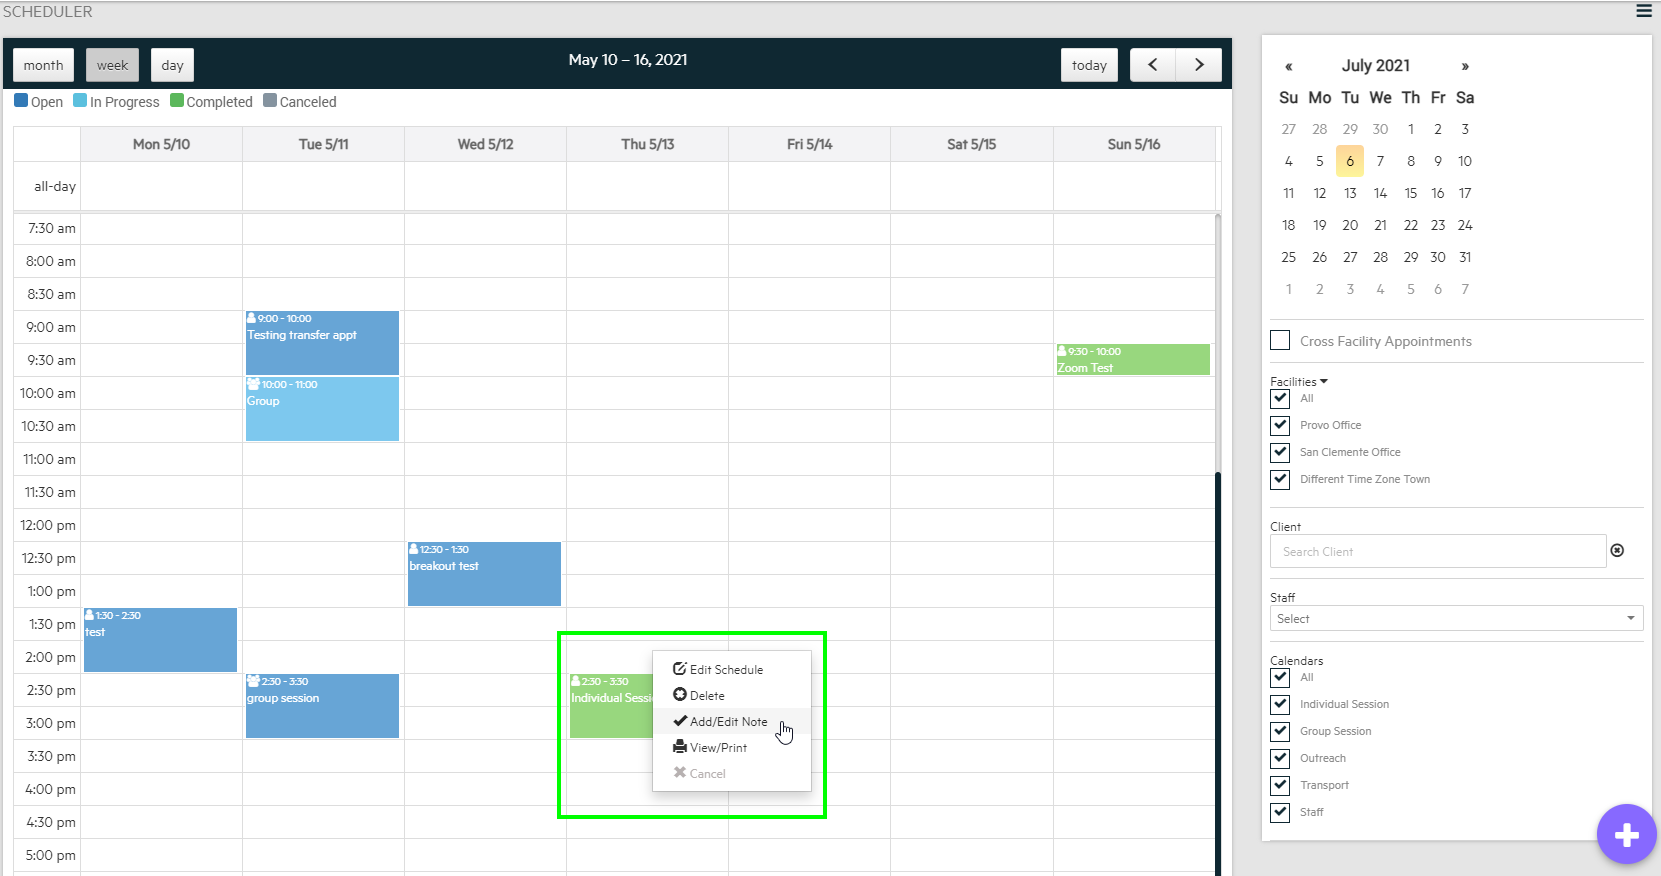
2. Find the session that contains the note you want to edit.
3. Click on the session and select, "Add/Edit Note"
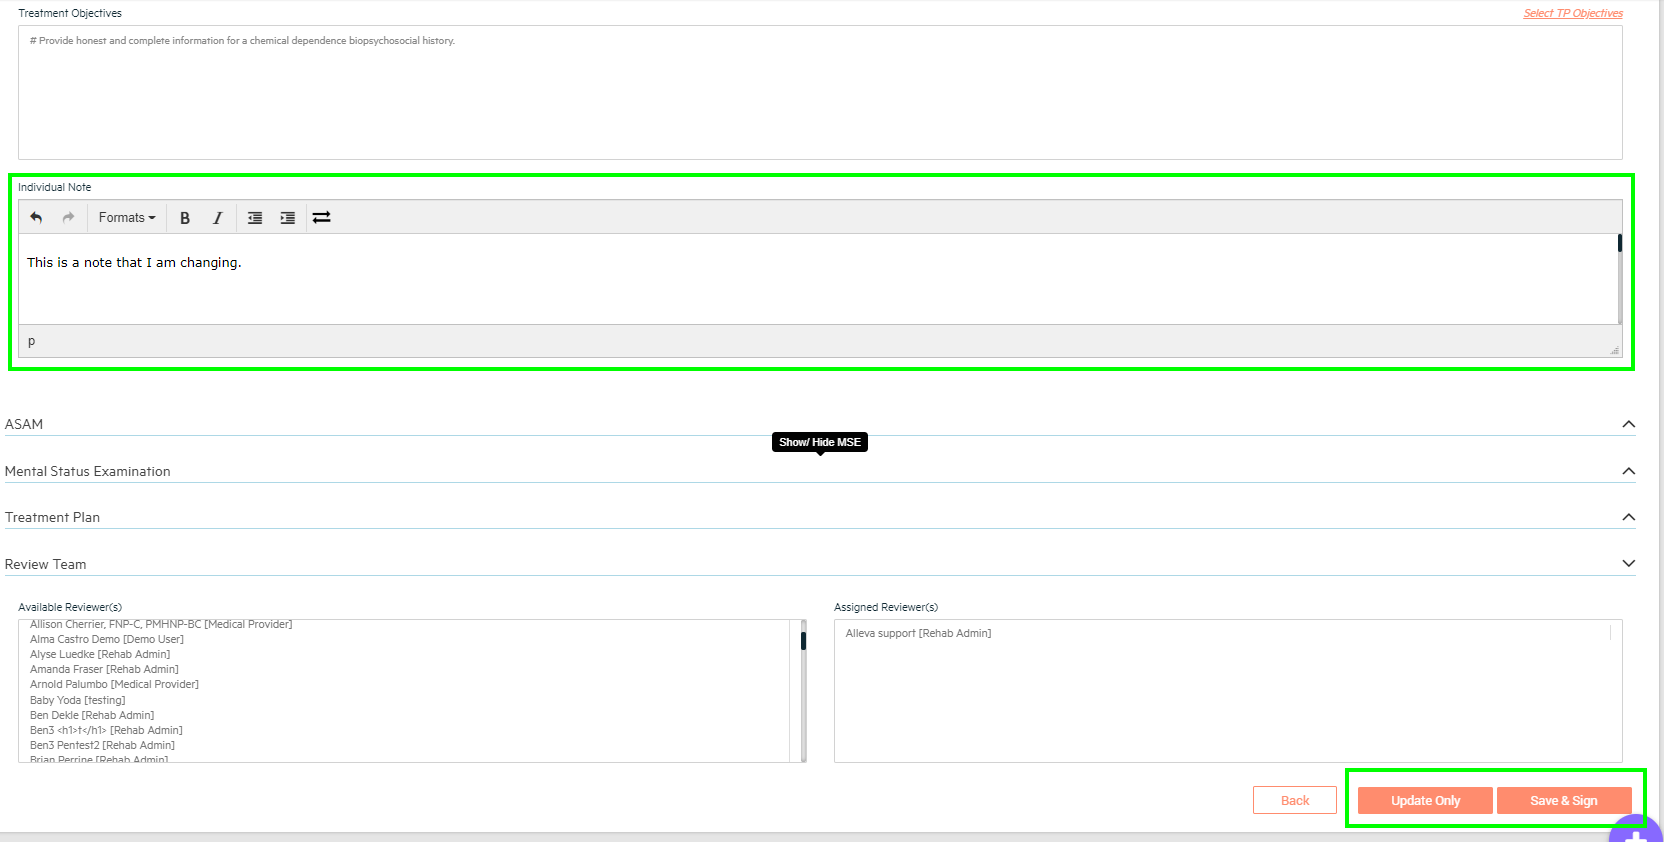
4. The note will open for you to edit, as long as you have permission to do so. Permissions are edited by your admins in Company Settings > Role Management and are based on role. After making edits to the note, you can either click 'Update Only' if you aren't finished, or 'Save & Sign' to add a new date/time-stamped signature. If you have assigned a reviewer, they will need to review the note and sign off on it.
Done!! If you have further questions, here are some additional tips that might help:
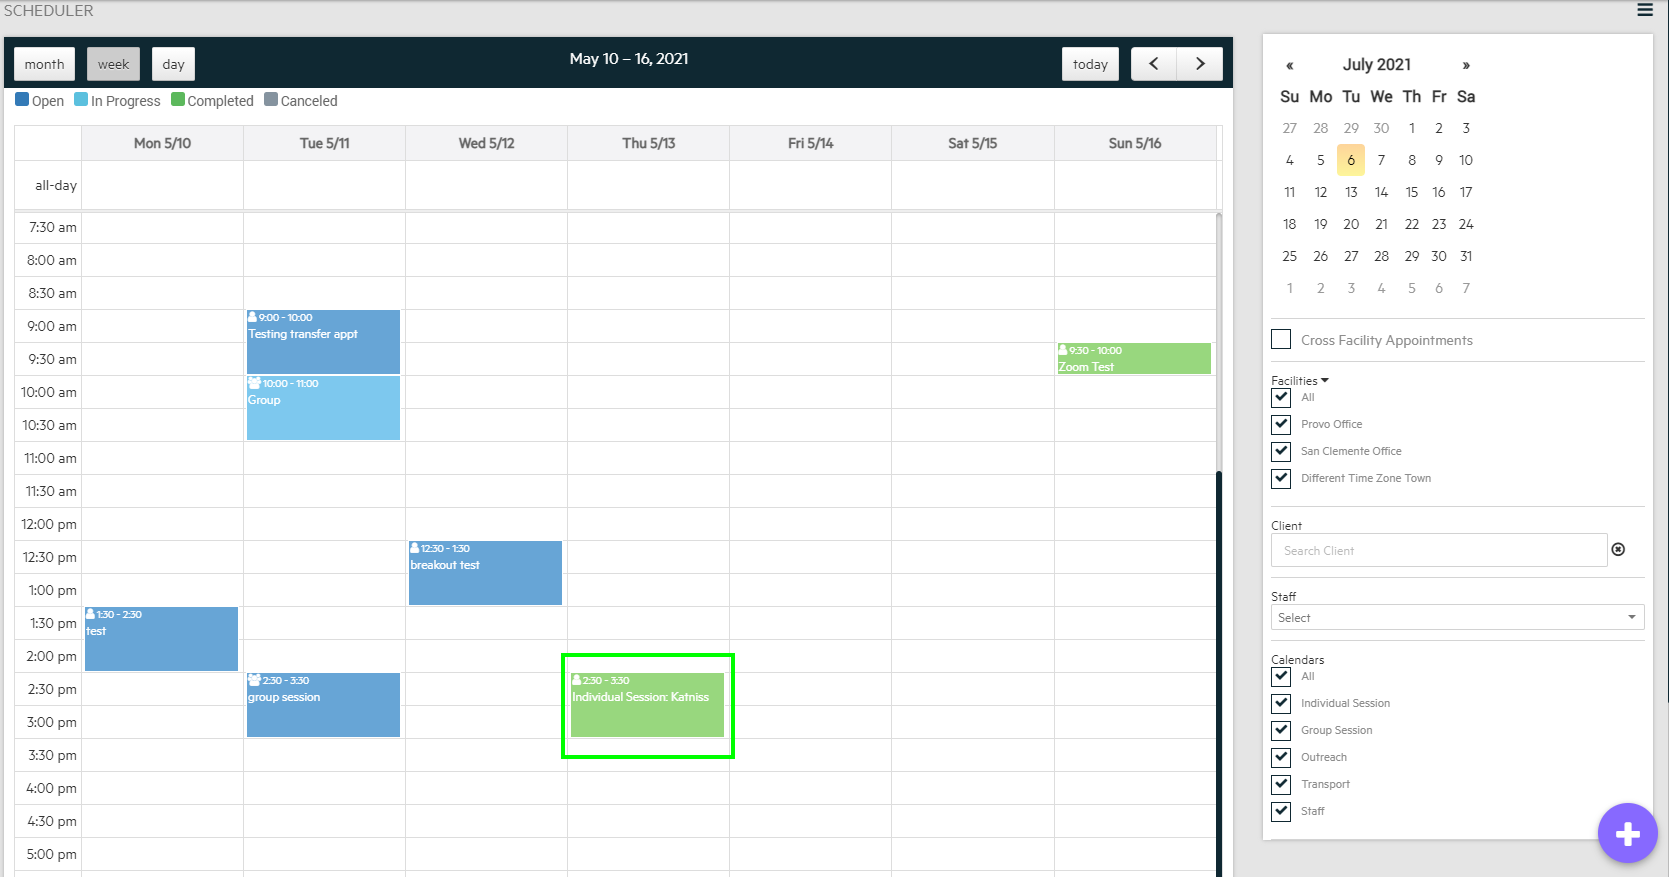
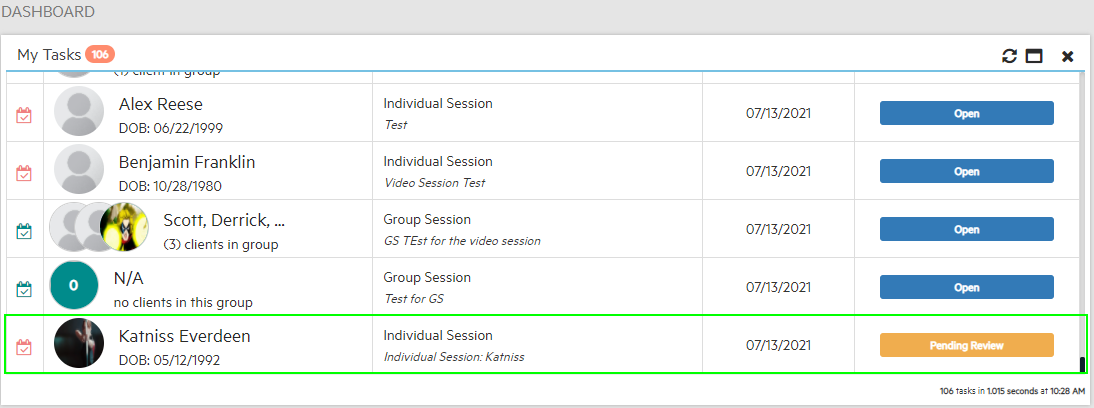
Assigned reviewers will see the note with the status "Pending Review" on their My Tasks list on the dashboard. They will be able to access the note from the dashboard and add their signature, which will make the session note show as complete (Green) on the Calendar.
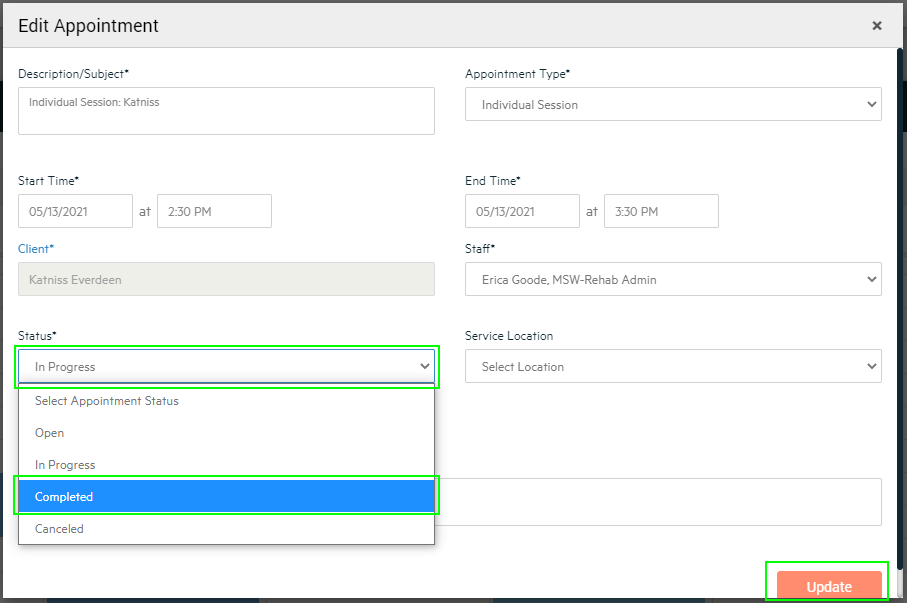
If a session note is set to "In Progress" (light blue color on the scheduler), but no further signature is required, you can manually set the status of the session to "Completed" by clicking on the session and selecting "Edit Schedule". Change the status dropdown to "Completed" then click the update button. This will make the session green on the Calendar.