![Untitled design (2)-3.png]](https://support.helloalleva.com/hs-fs/hubfs/Untitled%20design%20(2)-3.png?height=50&name=Untitled%20design%20(2)-3.png)

Navigating to Admission Checklist
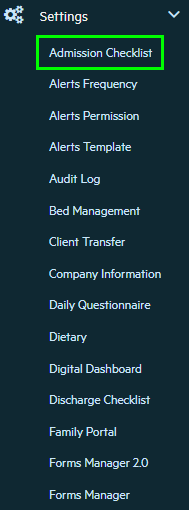
- Click Path Settings>Admission Checklist
Admission Checklist Screen Overview
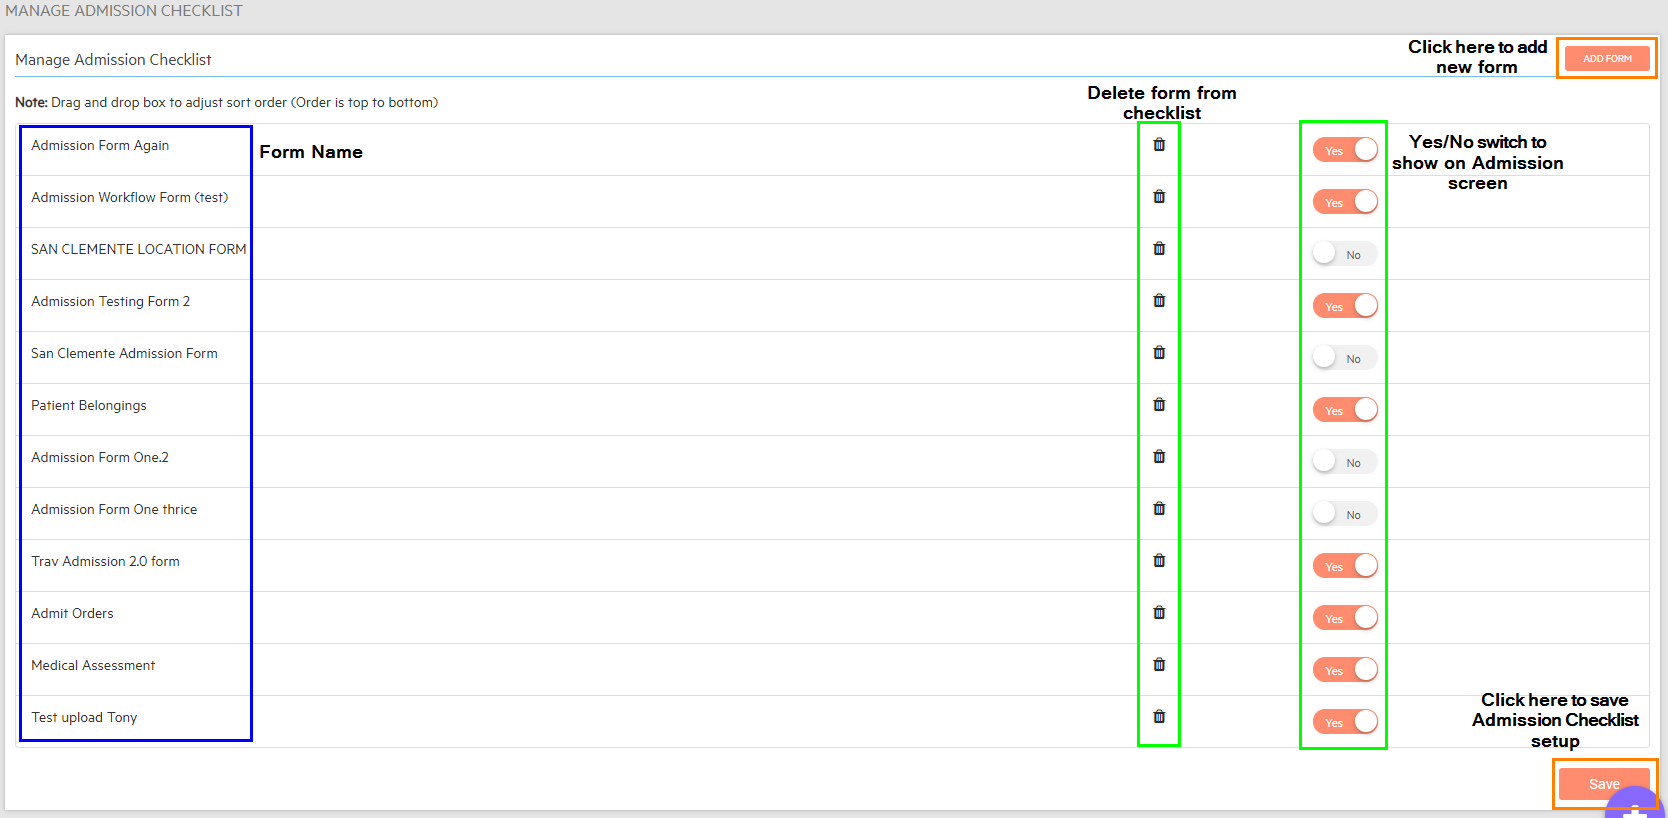
- Not only can you adjust which form shows up for the Admission Intake, you can also drag and drop each form to best reflect which order the forms are in.
Adding a New Form
- While on the Main Admission Checklist screen, click on Add Form in the top right-hand corner
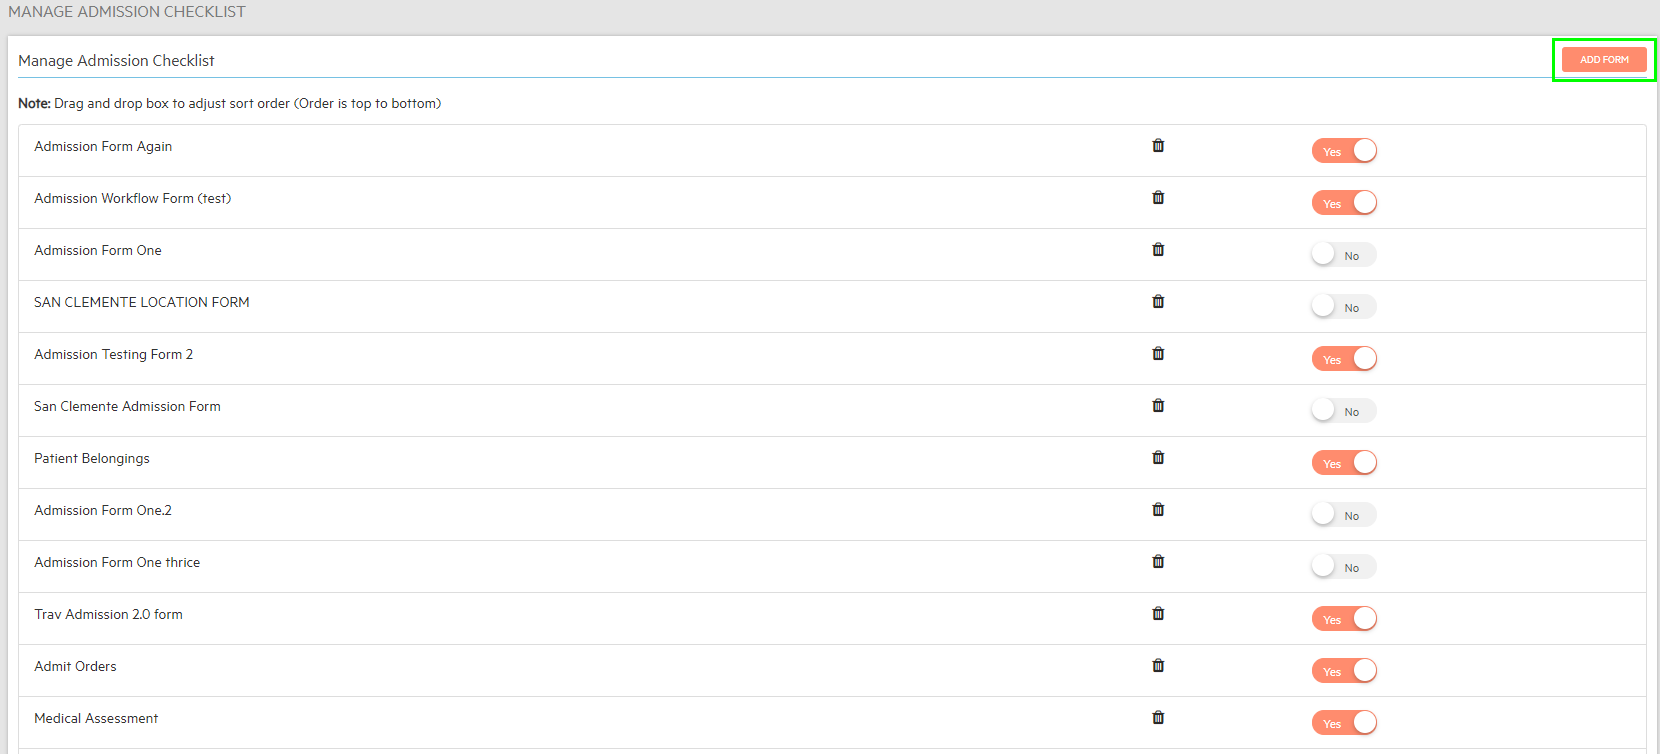
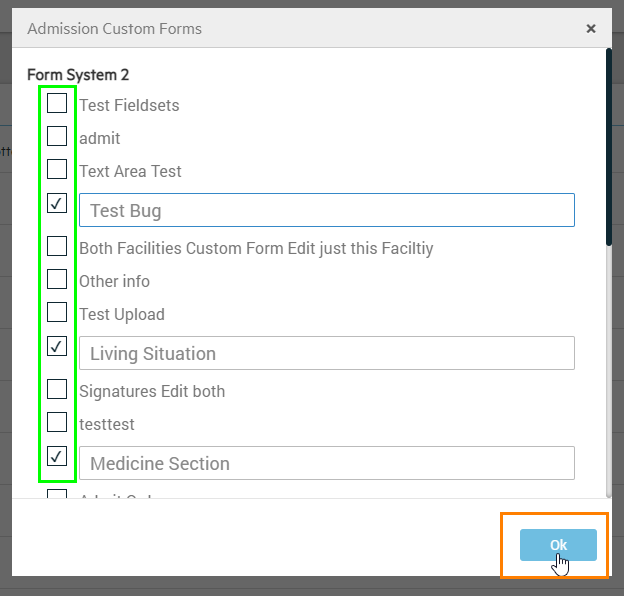
- Use the checkboxes to select what forms you want to add to the Admission Checklist.
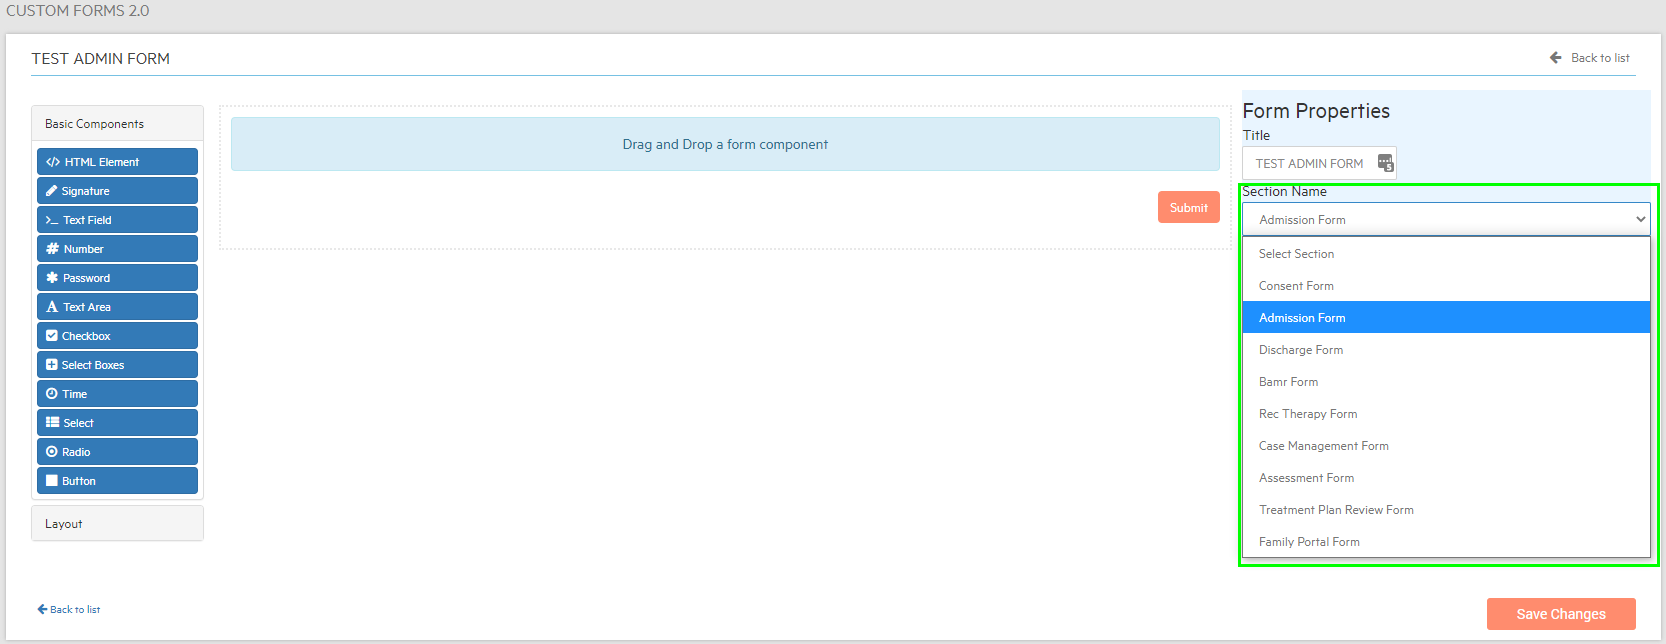
***Only forms marked as admissions forms can be added to the admissions checklist.