![Untitled design (2)-3.png]](https://support.helloalleva.com/hs-fs/hubfs/Untitled%20design%20(2)-3.png?height=50&name=Untitled%20design%20(2)-3.png)
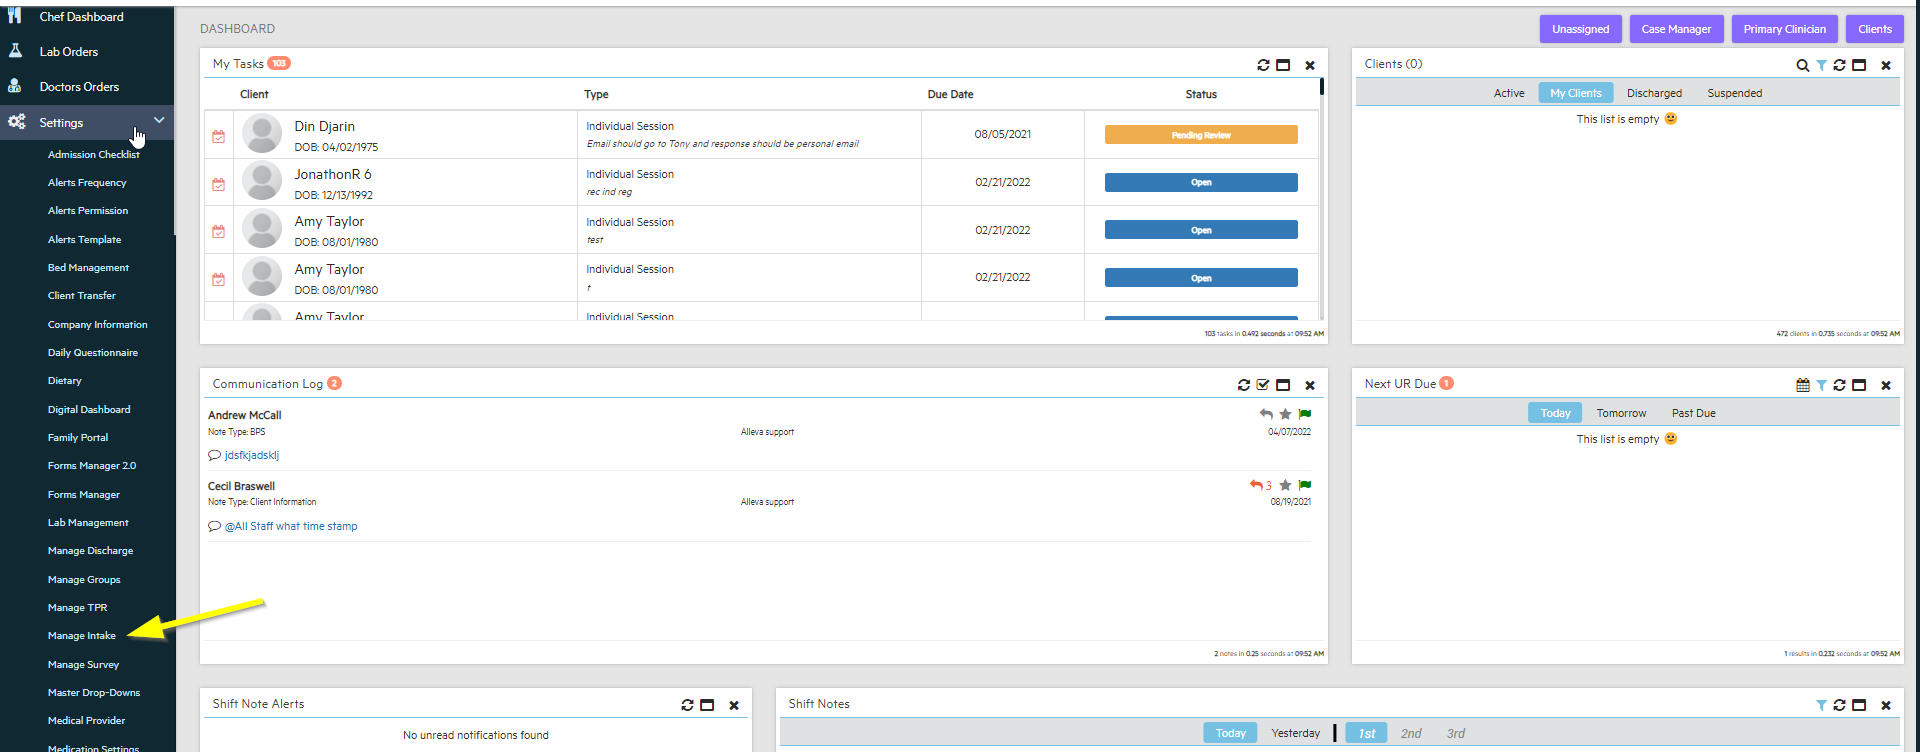
To start customizing your admission intake go to the "Settings" section in the navigational menu and then select the "Manage Intake" subsection.
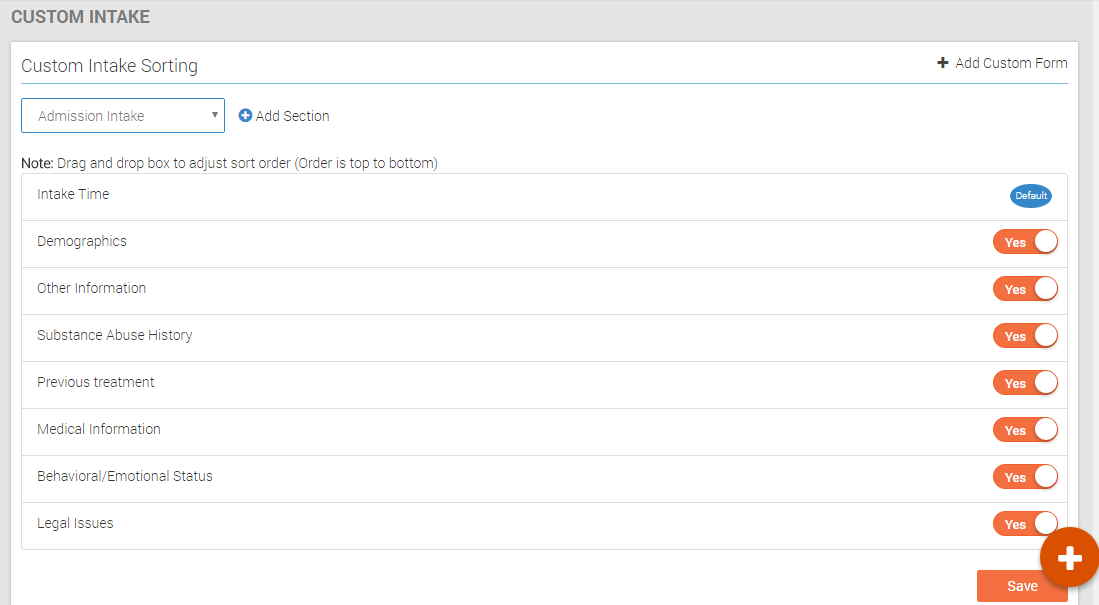
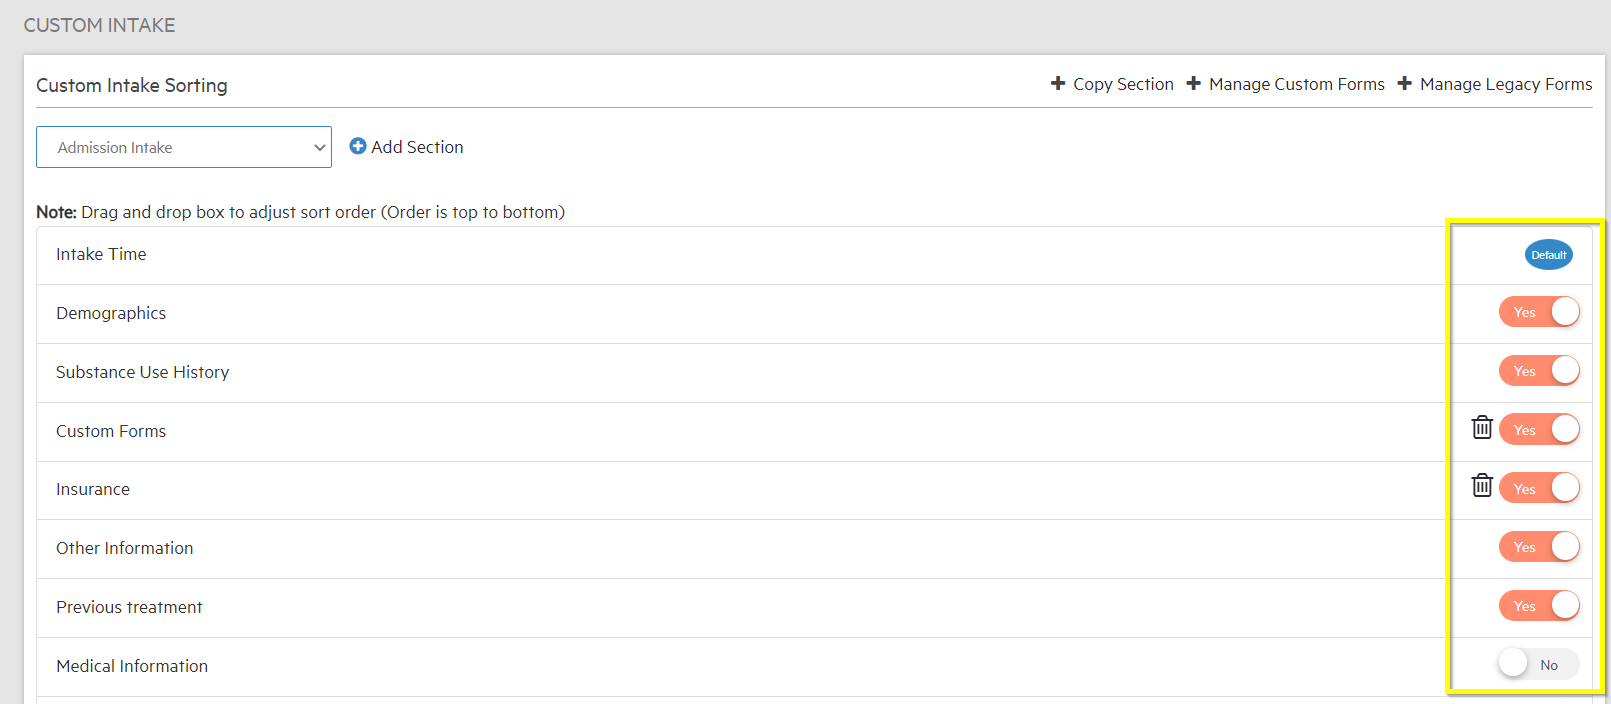
Custom Intake Sorting
Here in you will find all the intake forms and all the sections the system has provided.
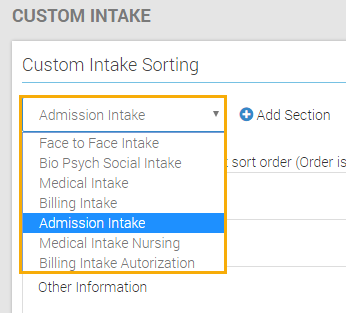
Start customizing your admission intake process by selecting which intake form you would like to customize by clicking and selecting from the drop-down menu.
Once you have selected which intake form you would like to customize you can choose which section you would want to include or exclude in the intake process by clicking "yes" or "no" on the toggle bottom that corresponds to the section.
You can also rearrange the order of the sections by clicking a specific section and moving it above or below the other sections.
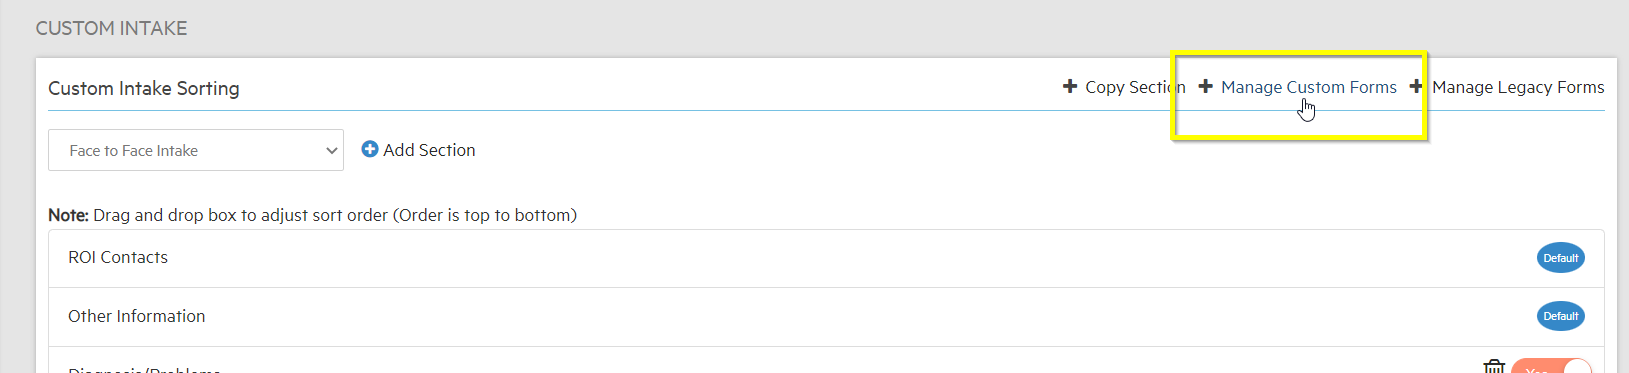
To Create and Add a New Intake Form
Go to "+ Manage Custom Forms"
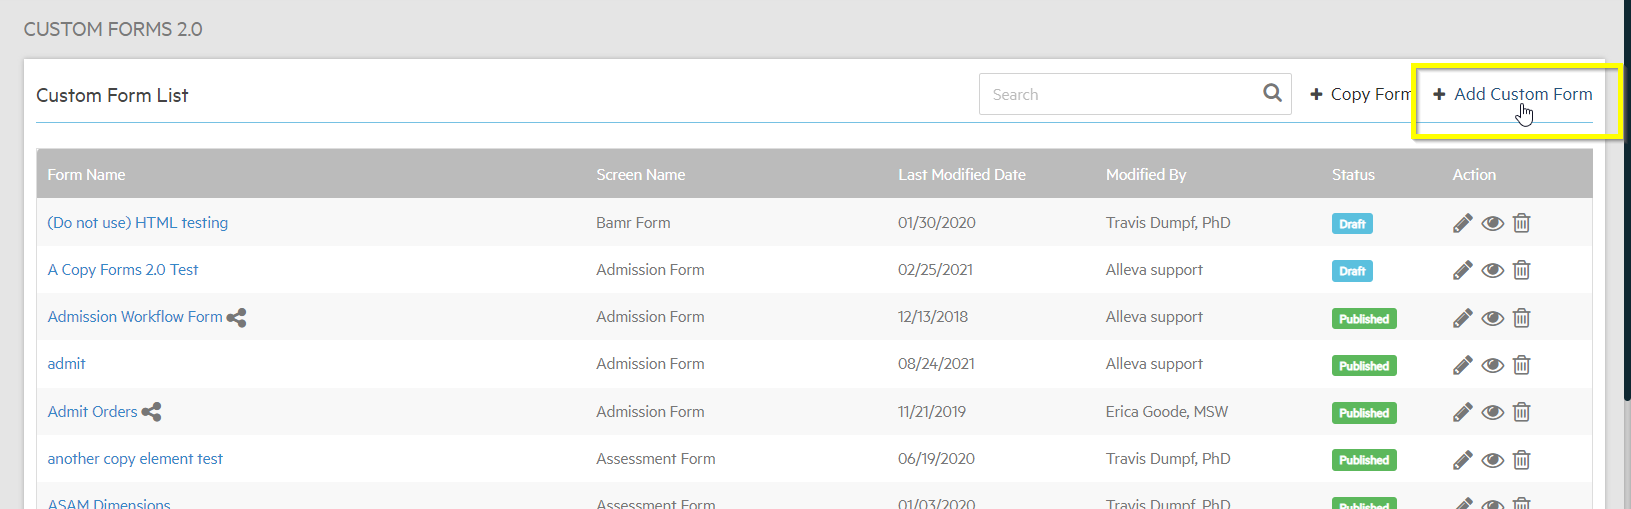
This will then take you to the "Custom Form List" that has the all of the completed customs forms.
To continue to create a custom form select, "+ Add Custom Form".
Here you can create your form to the specifications that your facility needs. To understand and learn details of creating a custom form look at the Using Forms Manager 2.0. Once you are done creating your custom form you can select "Save" and the form will be added to the queue.
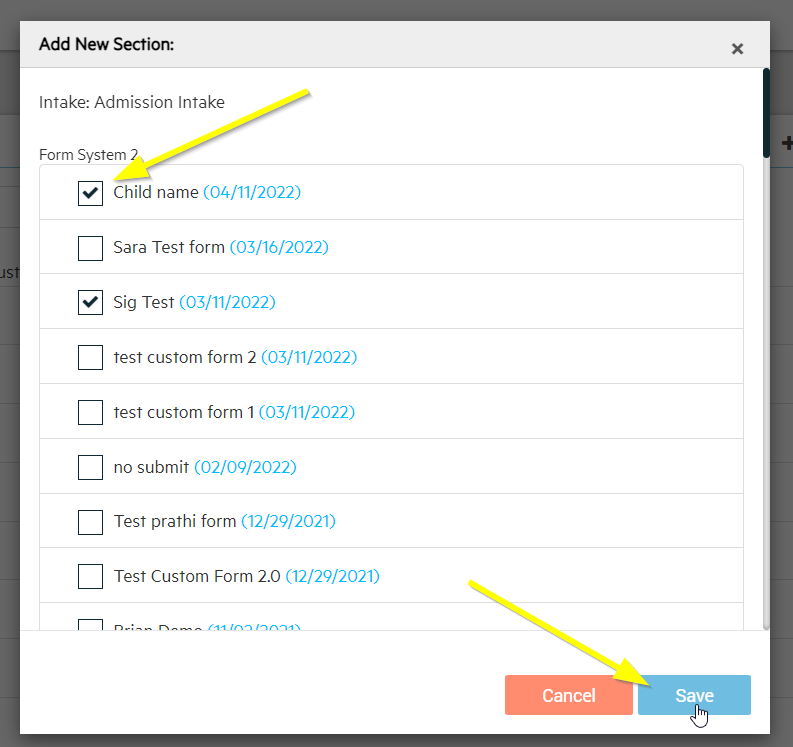
To add the custom form that you created to the list of sections in the Admission Intake select, "+ Add Section".
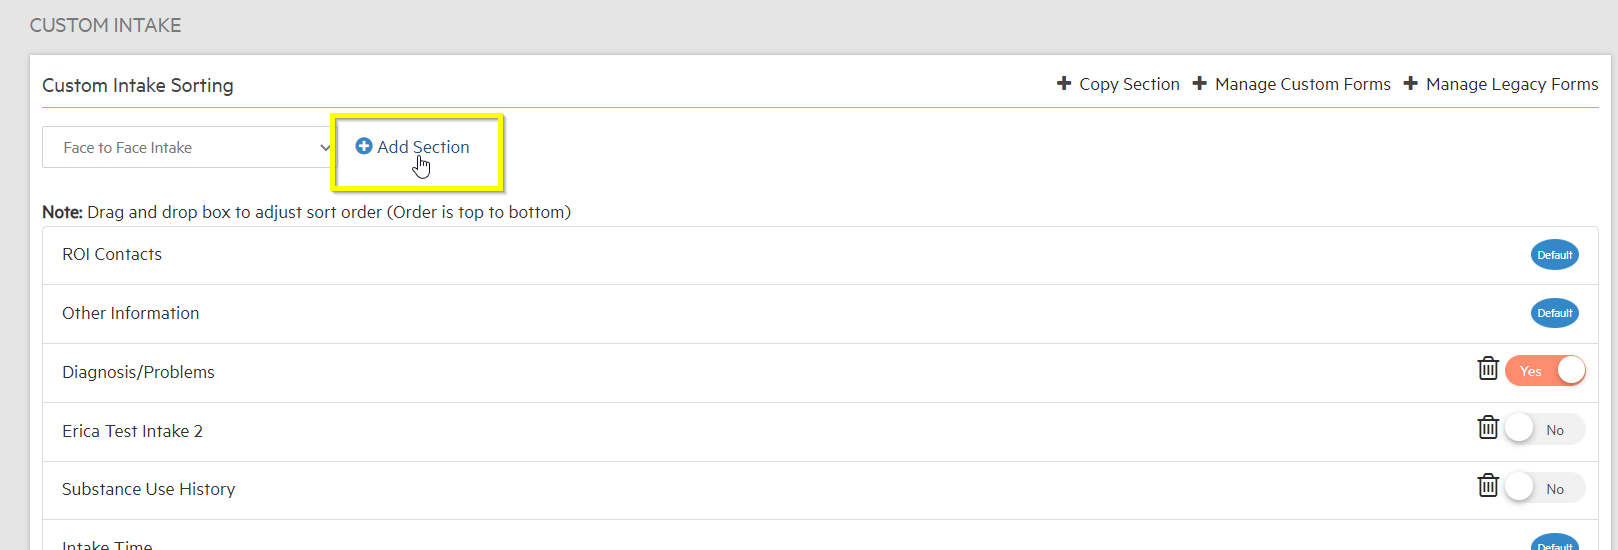
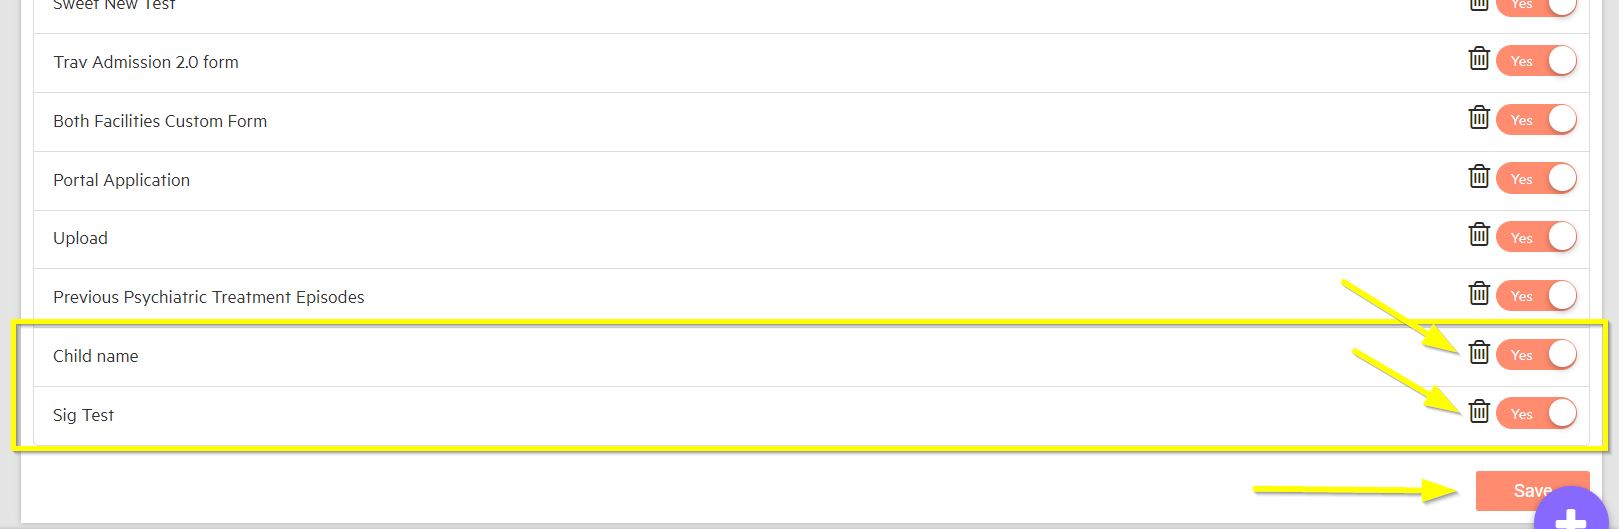
This box will populate allowing you to select which custom form you need by checking the boxes next to the name of the form. Once you have selected all of the customs forms you would like to add, select "Save".
The customs forms will be added to your admission intake list. When you have chosen which forms to include and exclude select "Save".